Are you running a WooCommerce store? There are so many methods are available for increasing your WooCommerce store conversions like sending out newsletters, using push notifications, etc. Well, in this post, we are going to introduce you to a well-known method for increasing your conversions.
You know offering coupon codes will help you to get more customers and store revenue. But, you will need to promote it in the right way. The simple and powerful way to promote your coupon codes is by adding them to your popup optins. In this post, we are going to show you how can you create a popup coupon using OptinMonster.
OptinMonster
OptinMonster is a premium WordPress lead generation plugin available in the market. Sadly, there is no free version available as of today. OptinMonster comes with so many advanced and unique features. Some of the popular ones are:
- MonsterLinks
- Exit-Intent
- Yes/ No Forms
- Coupon Wheel
- Countdown Timer
- Content Locker
- Sidebar Forms
- Inline Forms
Etc.
The plugin is created by the Awesome Motive team. The team also developed cutting-edge solutions like WPForms, MonsterInsights, SeedProd, etc.
If you really want to increase your sales and conversions from your existing traffic, you will need to choose the OptinMonster plugin.
OptinMonster Pricing
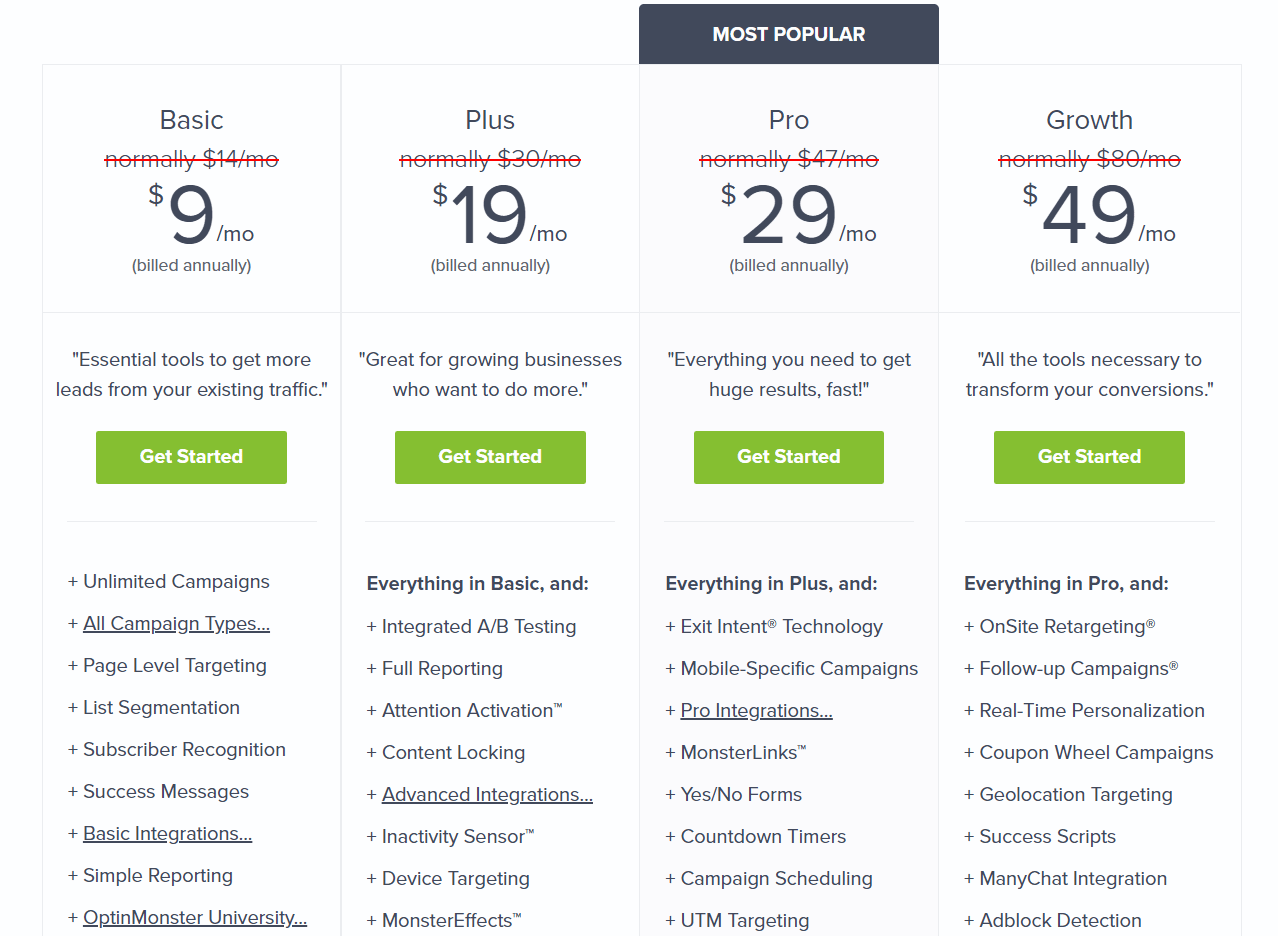
As of today, OptinMonster got 4 premium plans.
- Basic – $9/ month
- Plus – $19/ month
- Pro – $29/ month
- Growth – $49/ month
Higher plans will give you more unique features and integrations. Well, if you are a pure beginner, the Basic plan is good enough. When you are running a huge WooCommerce store with a good amount of sales and traffic, you will need to choose the Growth plan.
Every OptinMonster premium plans come with 14-days money-back guarantee. So if you are not happy with the OptinMonster premium purchase, you can easily get a full refund from the team.
How To Create a Popup Coupon Using OptinMonster?
The very first thing you need to do is, purchase any OptinMonster premium plans. With your credit card or PayPal account, you will be able to purchase any plan. Once you have got paid for the plugin, you will be able to log in to your OptinMonster account, access the campaign details.
So what we need to do is, create a new campaign. In the top right section, you will see a button for creating campaigns.
On the next page, you will see the campaign types you can create. There are five types of campaign types are available.
- Popup
- Full Screen
- Slide In
- Floating Bar
- Inline
For this guide, we will be using the Popup campaign type. You will see 30+ premade templates on the next screen. You can choose any of them or create a unique one.
Here, we are choosing a pre-made template for our popup.
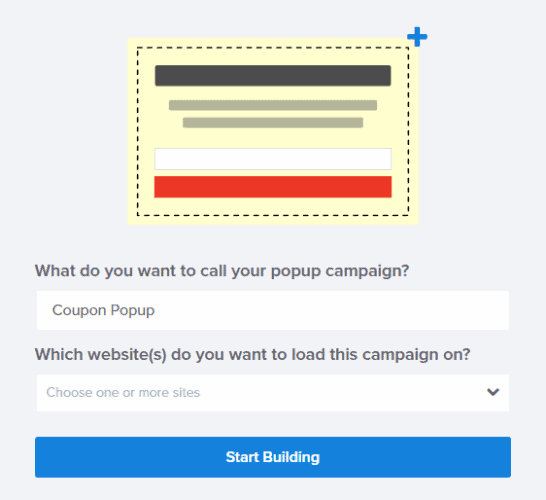
Now, you will need to name your campaign, select the websites you are planning to use this optin.
The name won’t be visible on the frontend. This is just for identification purposes. After naming your campaign, you will be redirected to the OptinMonster campaign builder.
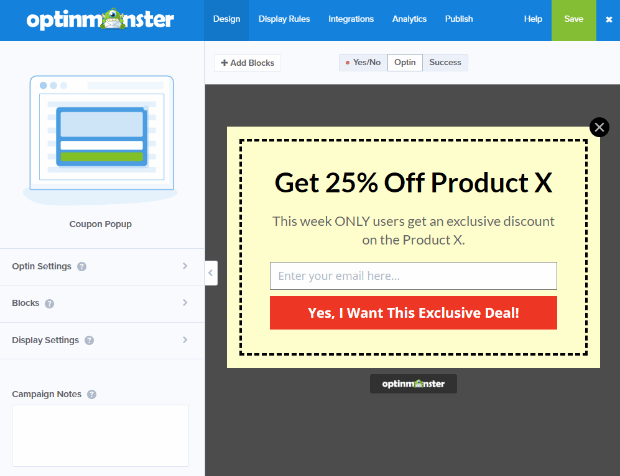
From there, you will be able to customize your template. Thankfully, it is a drag and drop builder. So, you do not need to write a single line of code for making changes. If you need to edit any element, just click on it.
On the left side, you will see the editing options.
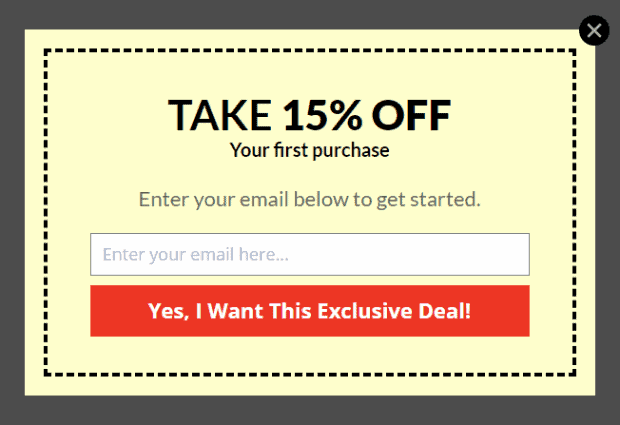
The right section will show you a live preview of the optin. On top of that, you can also customize the font, the text using multiple format options, size, etc. You will see every change in the right preview section. If you check the optin preview, you will see that we do not have an image there.
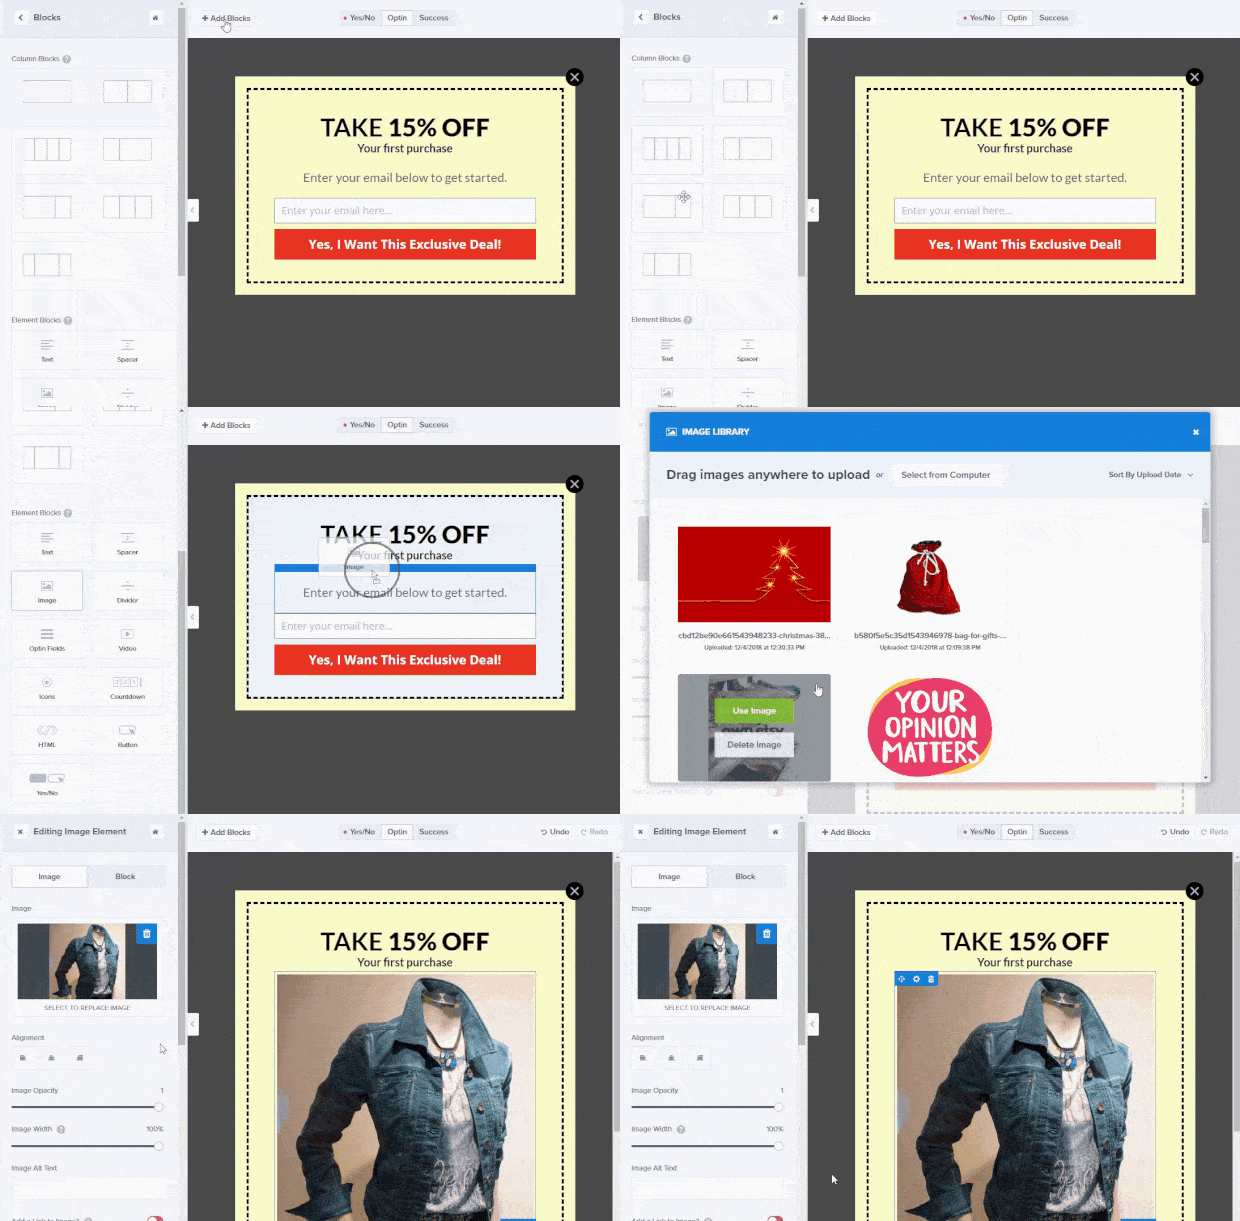
From the blocks section, you will be able to add an image to the optin.
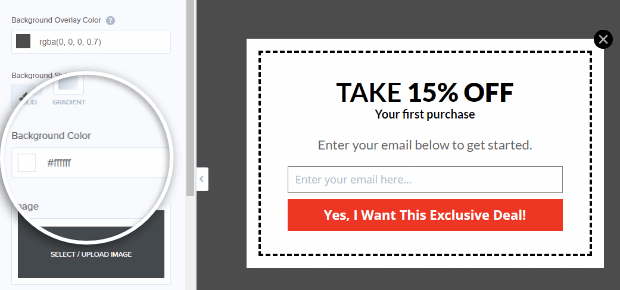
You can choose any image from your media library. The very next thing you can do is, change the background color. You can change the styling of the optin from the design options. All you need to do is, click on the home button, then select the design tab.
You can enter any hex code you like. For example, if you enter #ffffff, the background color will be changed to white.
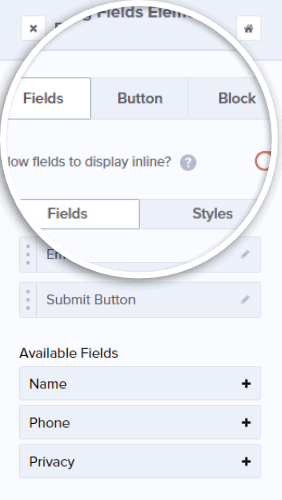
From the element editing section, you will be able to take care of your elements. You can also edit the buttons and actions.
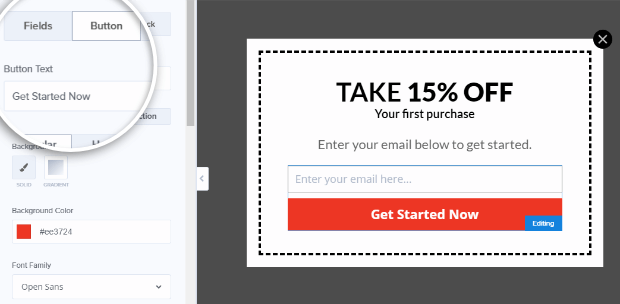
You can change the button text by selecting the button tab.
This way, you can customize the optin styling. The final thing we need to do is, set up the coupon delivery settings. You can show the coupon as a success message or send it to the user’s email.
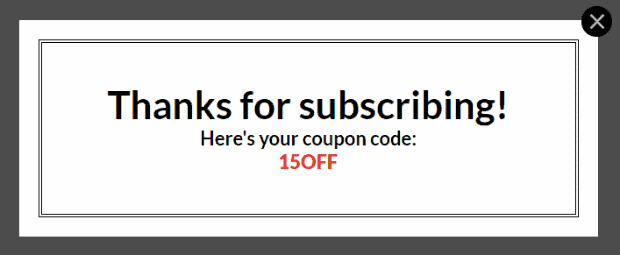
Once you have configured the success view option, the website visitor will see the coupon code after entering his/ her email address in the field.
The developer team got configured the success view option by default. So you can just modify the text with your custom message and coupon code.
At last, publish the optin.
Now, you will need to install the OptinMonster API WordPress plugin, verify your license key, and show the new optin on your WooCommerce shop.
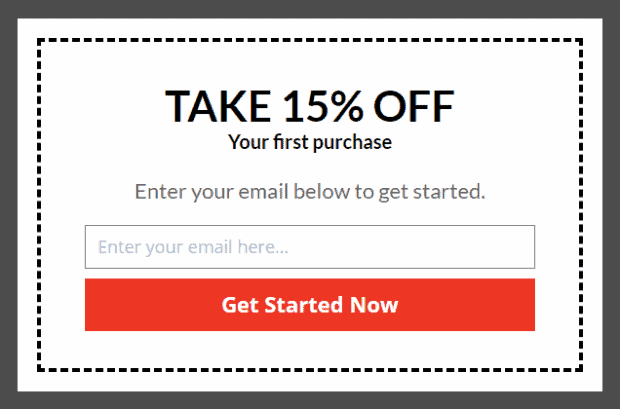
It will look like this after customization:
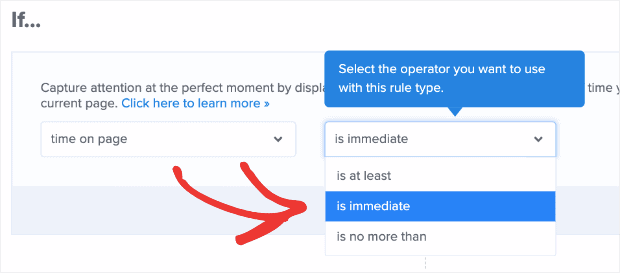
This is a good configuration for your optin. If you want, you can also configure the display rules.
You can use the time on page option and exit-intent feature from the display rules section.
Make sure that you have updated the campaign. You will see the changes on the website frontend. If you are not seeing the optin, it is because of the caching plugin. Simply clear your website cache and browser cache. You will see the changes then.
This is how you can create a popup coupon optin using OptinMonster WordPress plugin. As you can see above, it is pretty simple and you do not need to write a single line of code.
Get Started With OptinMonster
You can purchase the OptinMonster plugin from below.
We hope you have found this article helpful and enjoyed the read. If you did, please consider sharing this article with your friends and fellow bloggers on social media. You can check out our blog section for more related tutorials.







Leave a Reply