If you need to display popular posts inside your content, we have got you covered. The normal way to display your posts inside the content area is, adding links manually. But, it will take more time. In this article, we are going to show you how you can display popular posts inside your content area by using the MonsterInsights WordPress plugin.
So, let’s get started.
MonsterInsights
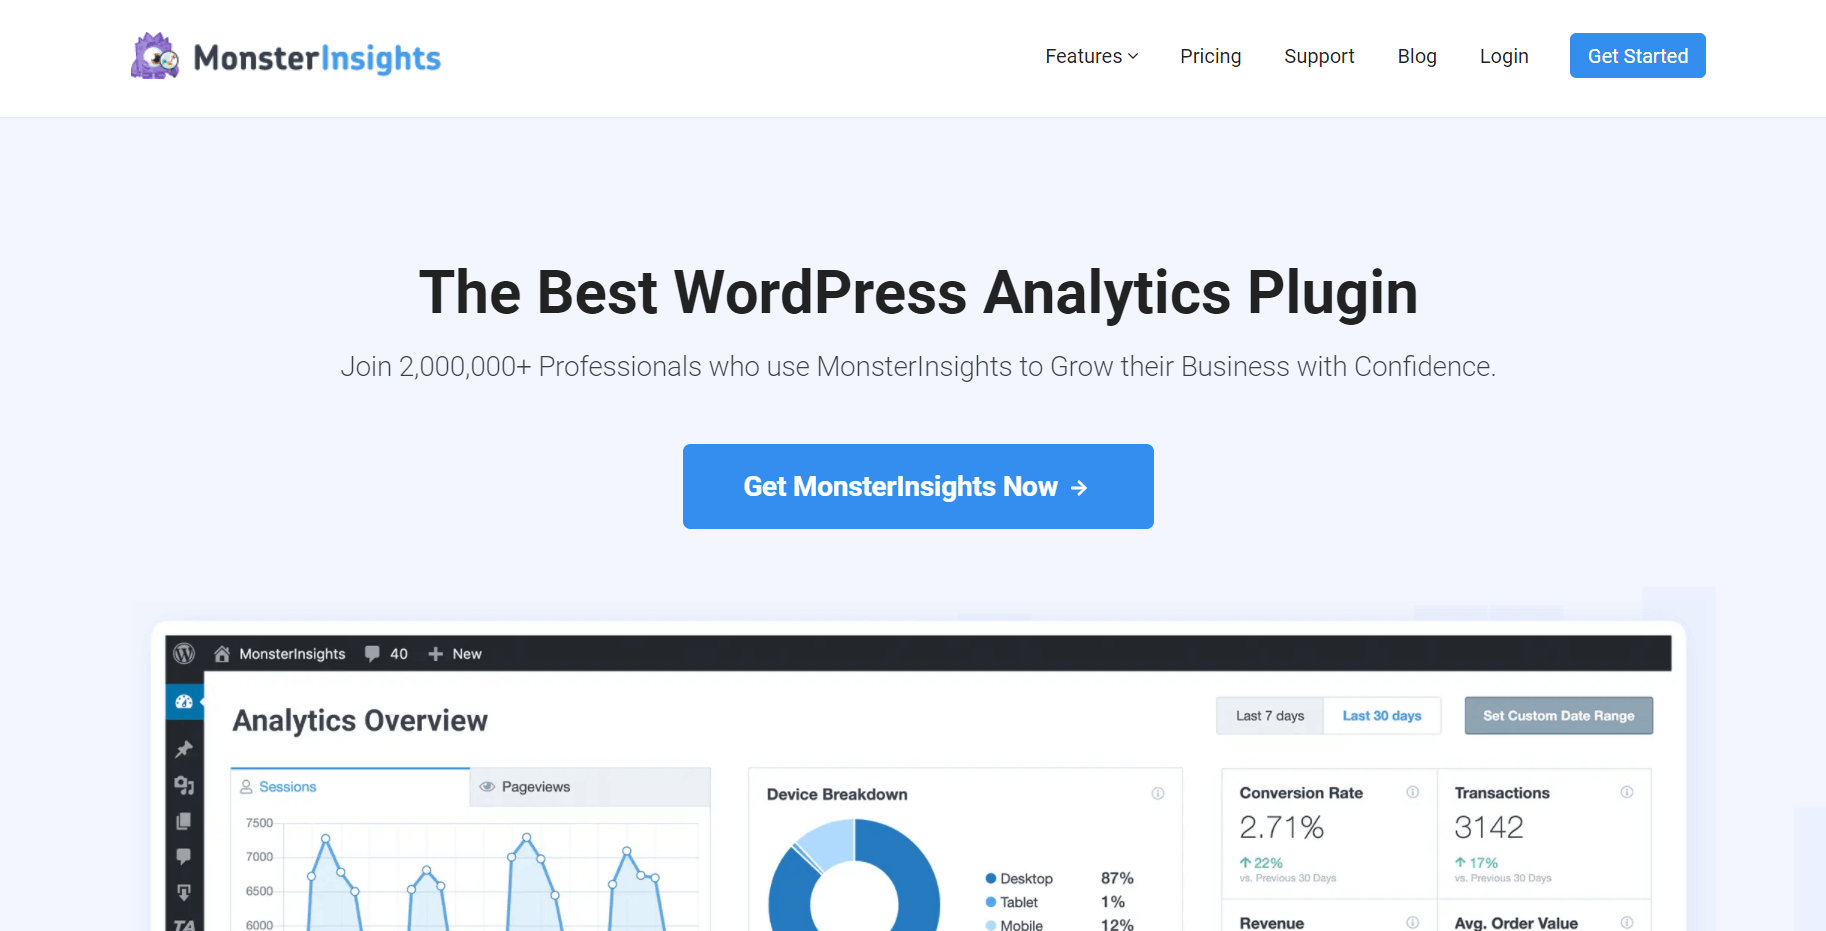
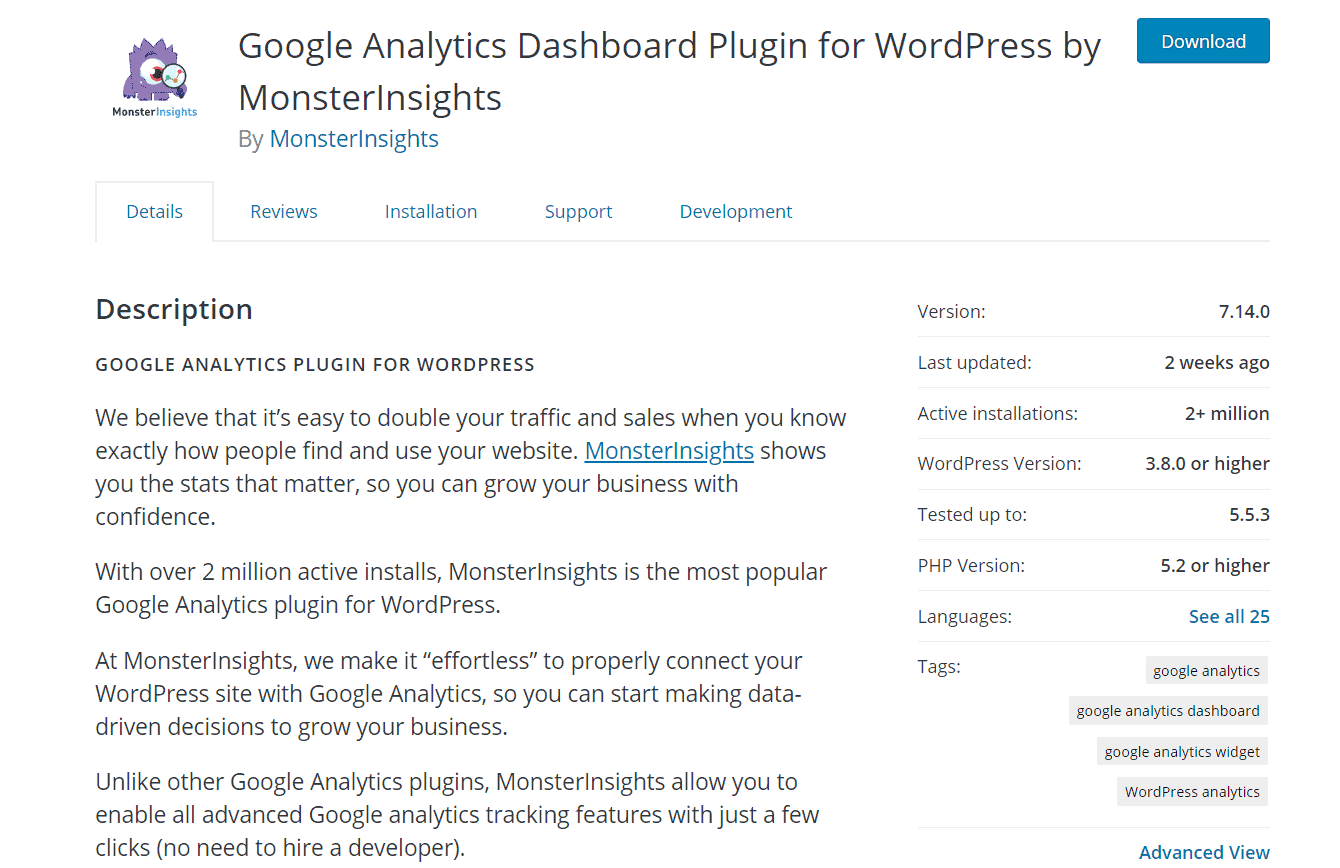
MonsterInsights is one of the best WordPress plugins available for Google Analytics integration. As of today, MonsterInsights is a freemium WordPress plugin. The MonsterInsights lite is available on the WordPress plugins repository.
As you can see in the above screenshot, there more than 2 million WordPress blogs are using the free version of MonsterInsights for Google Analytics integration. The free version comes with all the basic tracking features.
On the other hand, if you represent any WooCommerce shop or a business site, you will need to get their premium version. The MonsterInsights premium comes with so many unique features like:
- Universal Tracking
- eCommerce Tracking
- Affiliate Link Tracking
- Scroll Tracking
- File Download Tracking
- Author Tracking
- Outbound Link Tracking
Etc.
For displaying the popular posts widget inside your content, you will need to purchase their premium version. Because we will need to use their premium Dimensions add-on for displaying the posts.
MonsterInsights Pricing
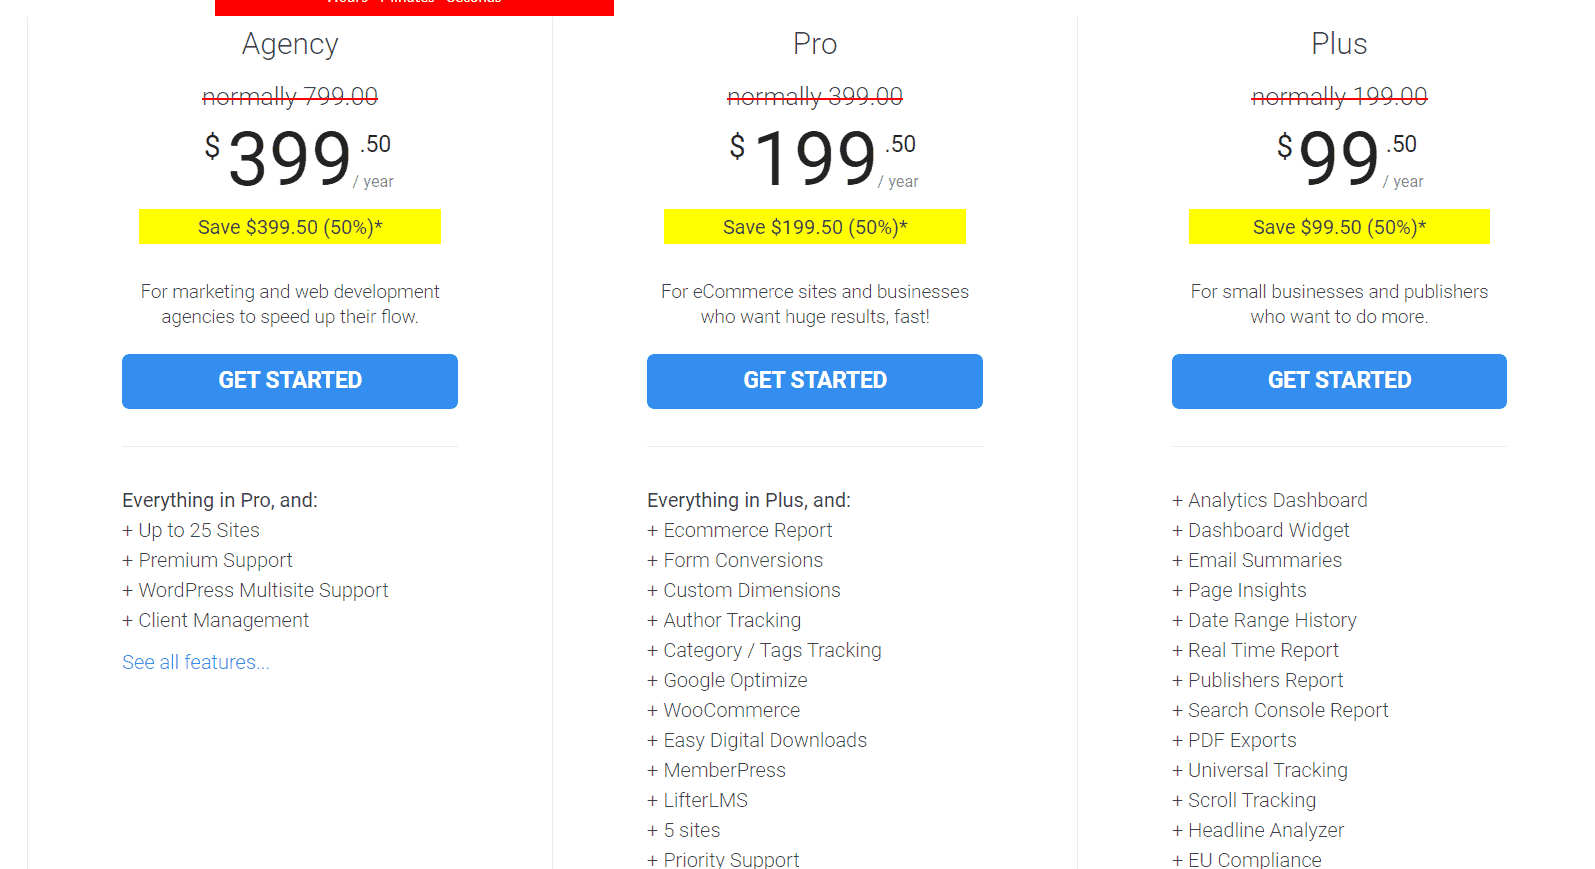
As of today, MonsterInsights comes with four premium plans.
- Plus – $99.50/ year
- Pro – $199.50/ year
- Agency – $399.50/ year
For the Dimensions add-on, you will need to purchase the Pro or Agency plan. You will be able to complete the purchase using your credit card or PayPal account. On top of that, if you don’t like the plugin’s features, you can ask for a refund.
MonsterInsights comes with a 14-days money-back guarantee.
How To Display Popular Posts Inside Content Area?
The first thing you need to do is, purchase the premium version of MonsterInsights. You can purchase the Pro or Agency plan. Once you have purchased the plugin, log in to your MonsterInsights account. From there, you will be able to download the premium plugin files, access the licensing information, etc.
Once you have downloaded the premium plugin, log in to your WordPress site, go to the add new plugins section, and install the premium plugin there. After installing, activate it.
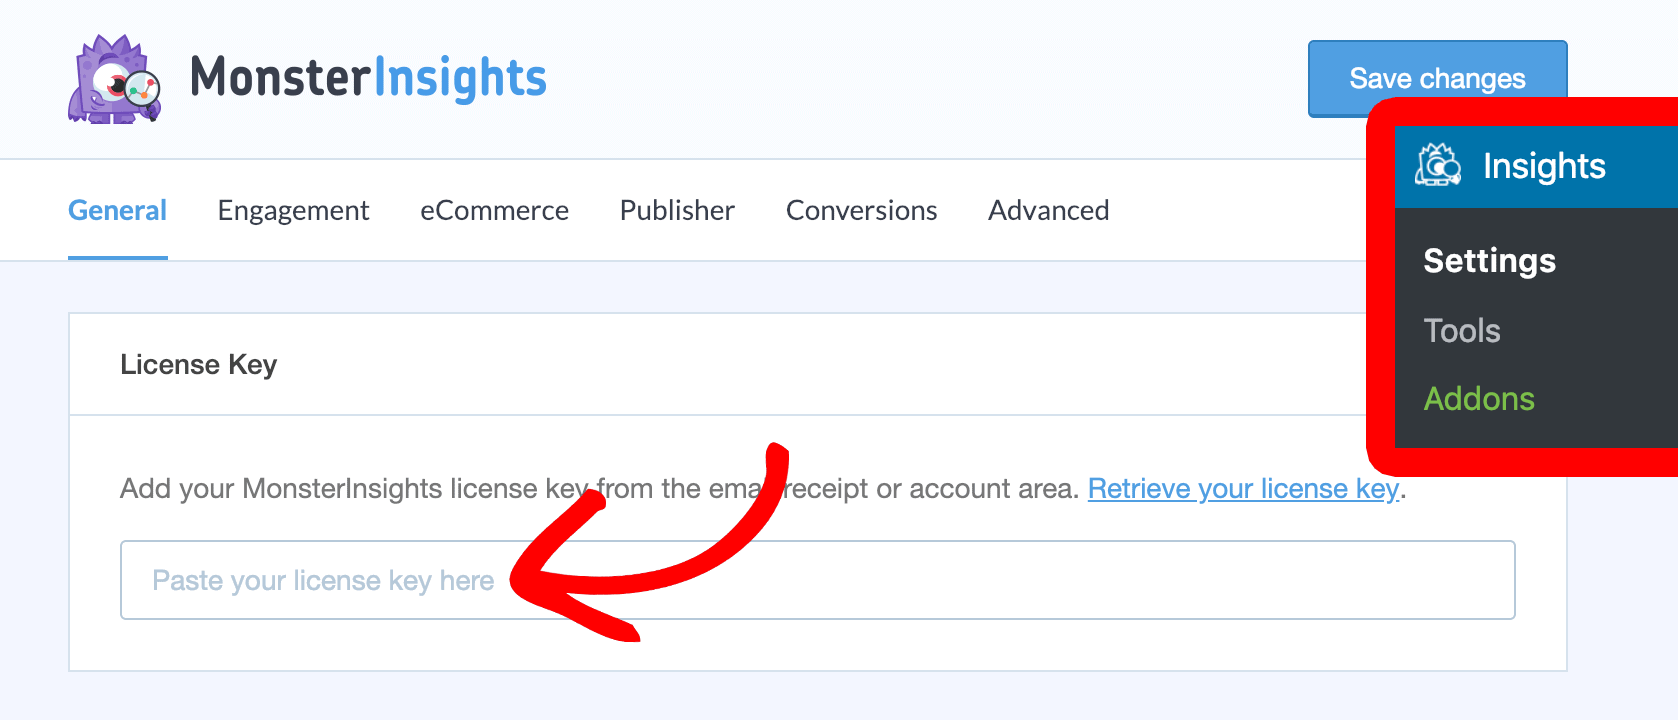
You will need to verify the license key for receiving updates and support from the author team.
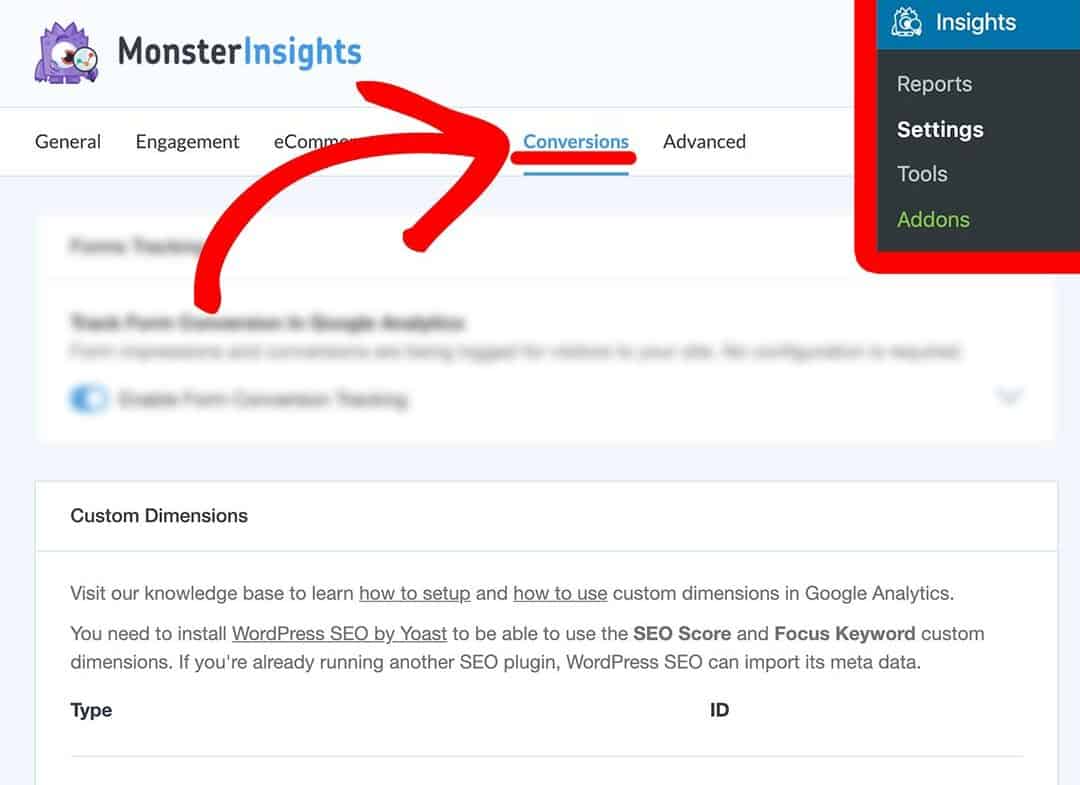
After verifying the license key, you will need to install and activate the dimensions add-on on your blog. Once you have done that, you will be able to see the custom dimensions settings under your conversion settings section.
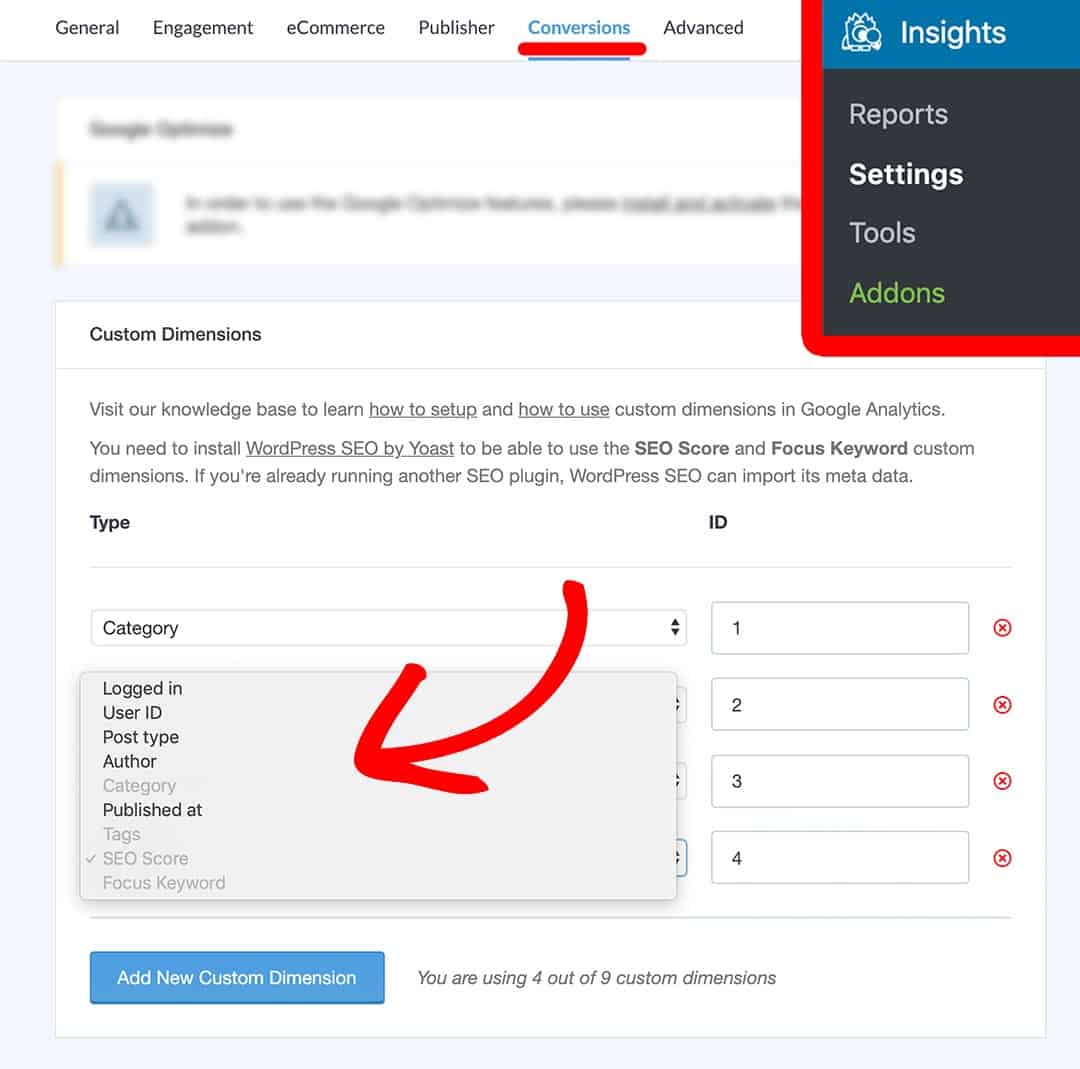
Click on the add new custom dimension button. As of today, MonsterInsights will allow you to track
- Logged In
- User ID
- Post Type
- Author
- Category
- Published At
- Tags
- SEO Score
- Focus Keyword
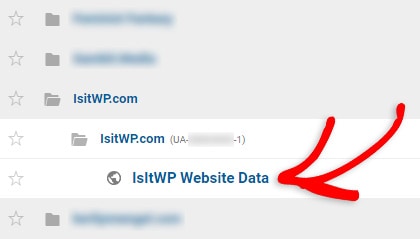
We will need to choose the Post Type option as the dimension. After selecting it, save the settings. Next, you will need to log in to your Google Analytics account and choose the Google Analytics property.
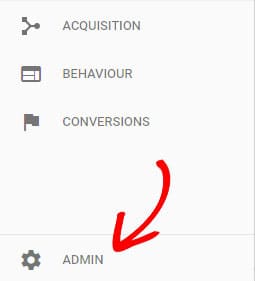
Access the Google Analytics property admin section.
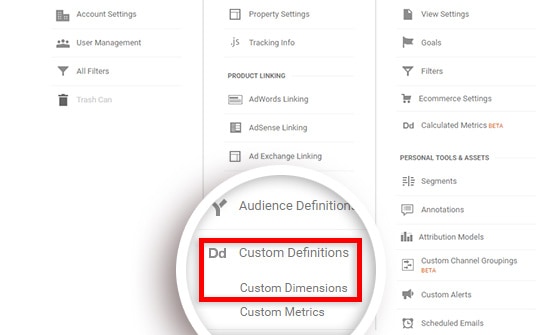
Under the custom definitions section, you will be able to see the custom dimensions section.
The page will redirect you to a table.
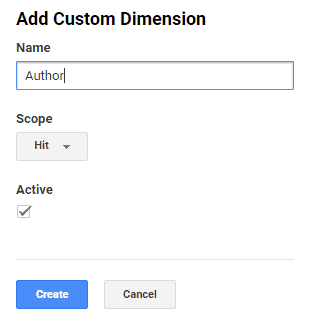
From there, you will be able to add new custom dimensions. Click on the + new custom dimension button and create new dimensions.
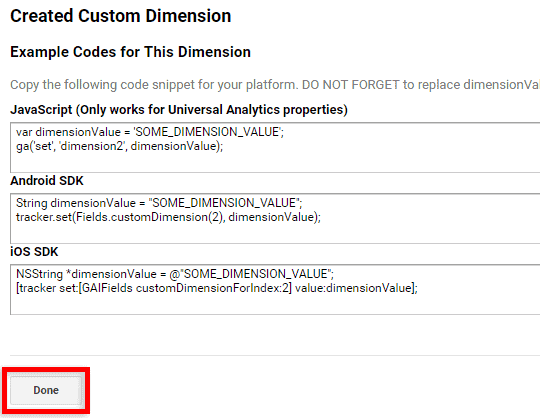
Click on the Done button and you are good to go. On the next page, the system will show you some custom codes for the integration.
Since we are using the MonsterInsights WordPress plugin, we do not need to use any custom code for integrating features. Just click on Done. You can skip this step.
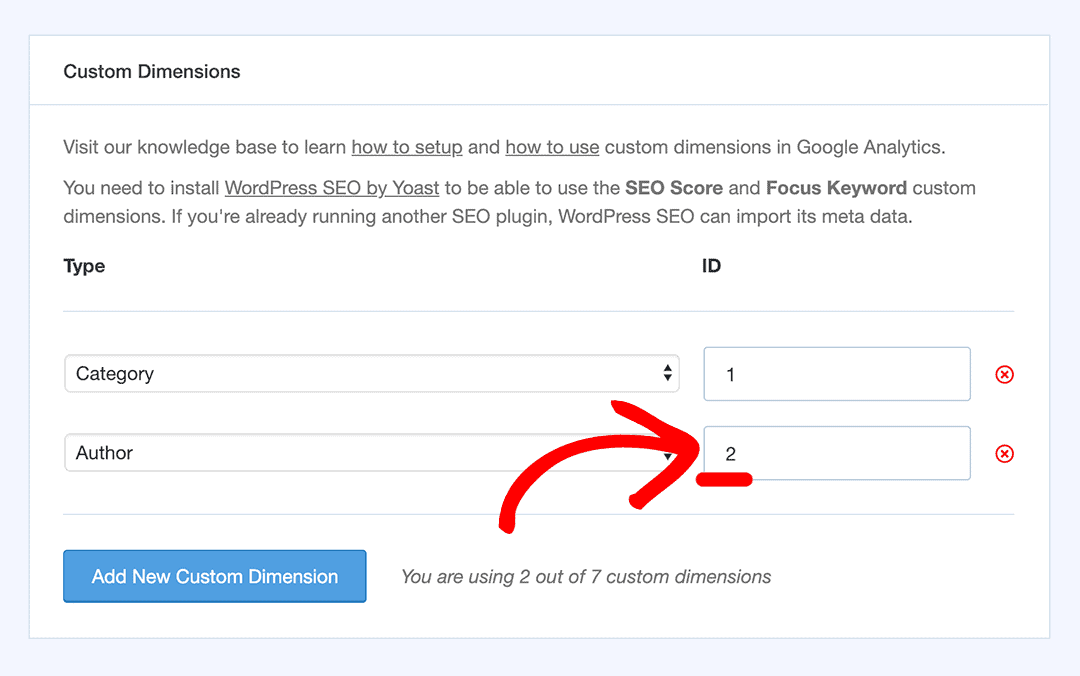
After creating custom dimensions, the system will give you a unique ID.
Copy the Index ID, paste it on your MonsterInsights settings page.
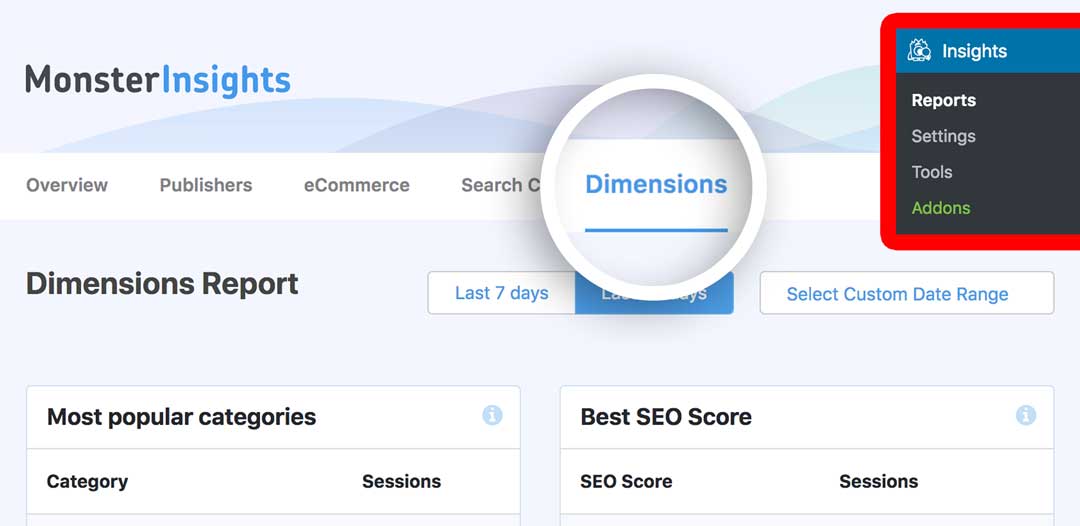
Now, save the settings again. You will be able to view the insights from the reports section.
Well, we will be adding a custom widget to the content area. For doing it, we will need a little more configuration. Before moving forward, you will need to wait 48 hours.
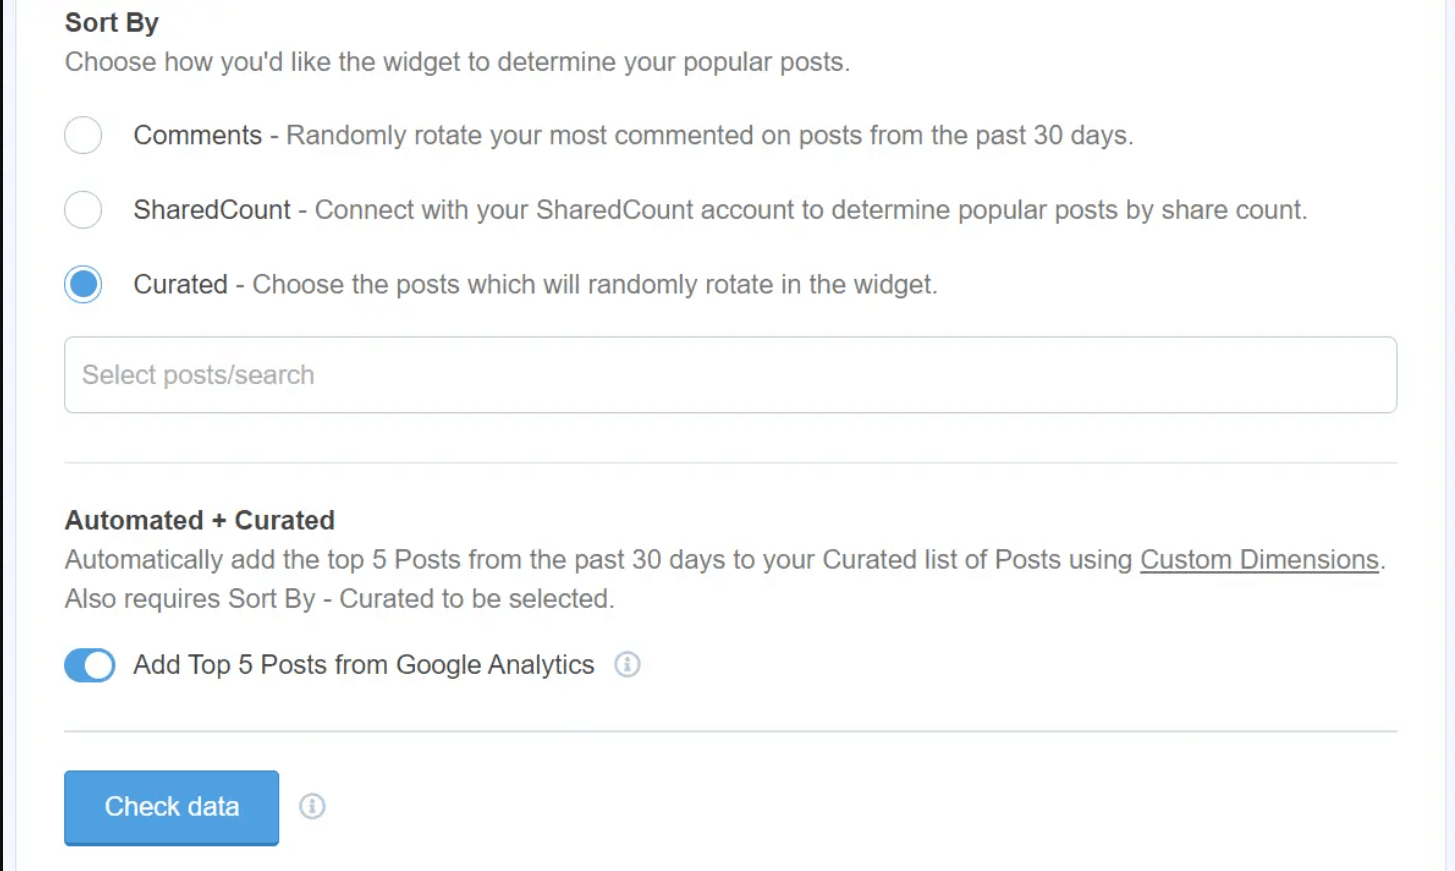
Go to the Insights settings. Then popular posts, inline popular posts, and sort by option. We will be displaying custom selected posts. So, choose the Curated option.
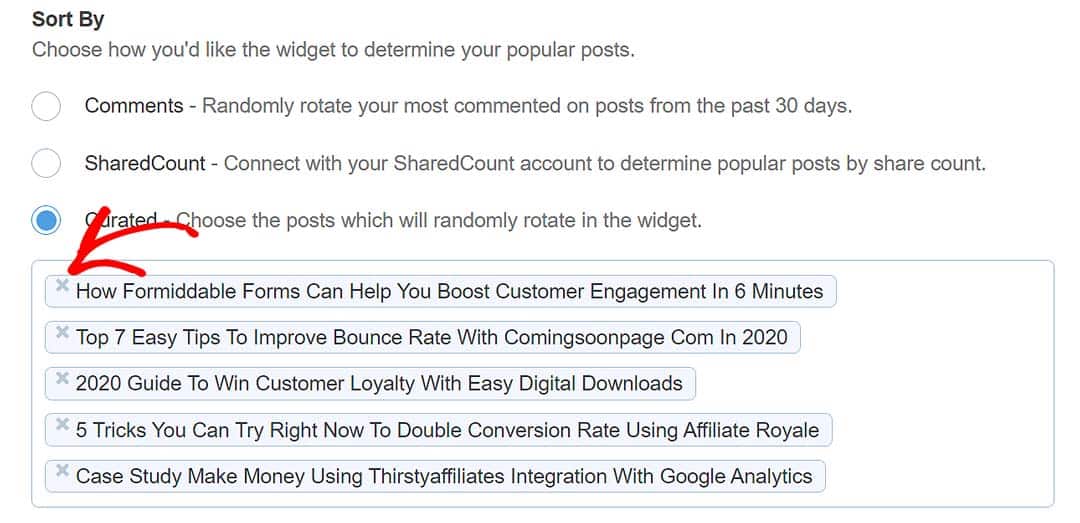
Add the posts you will need to display on your widget. You can use the headline or keyword for searching the posts. Once you have added those, save the settings.
If you need to remove any posts from the box, simply click on the ‘X’ button. You can also enable the popular posts option from the Automated + Curated option.
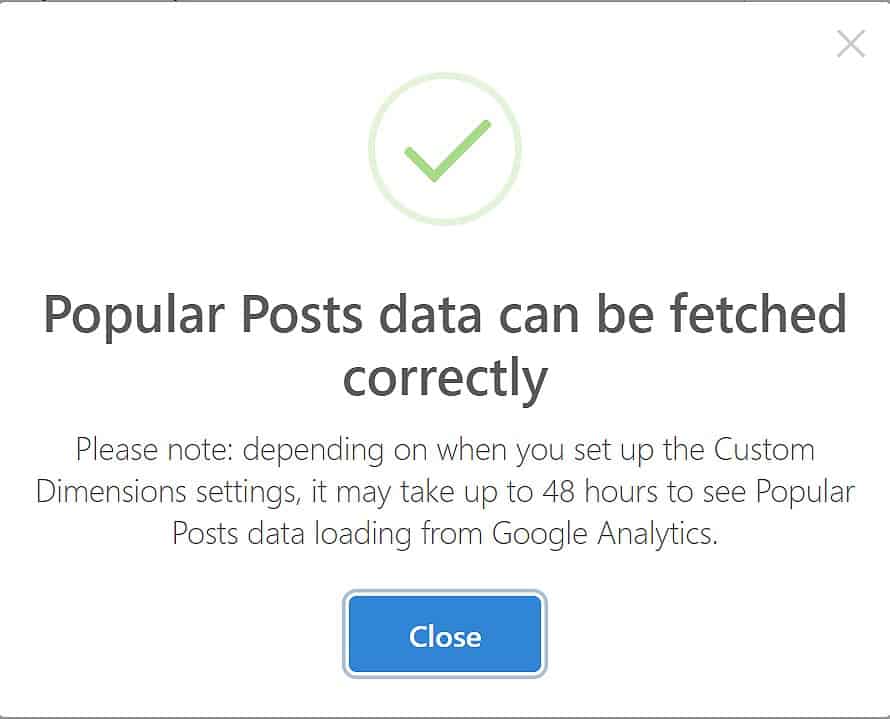
Turn it on. After that, you will see a success message like this.
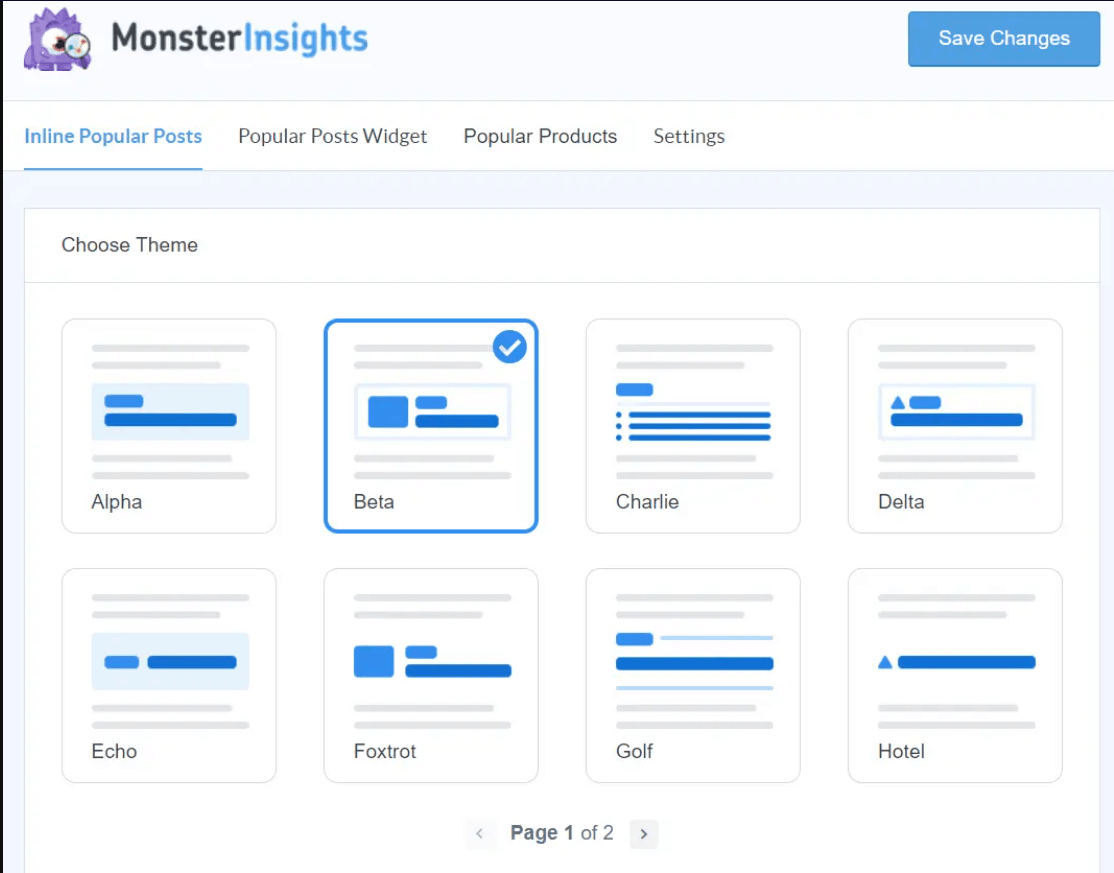
Now, you can place an inline widget on your site, display the popular posts on it. Under the inline popular posts section, you will see so many widgets themes.
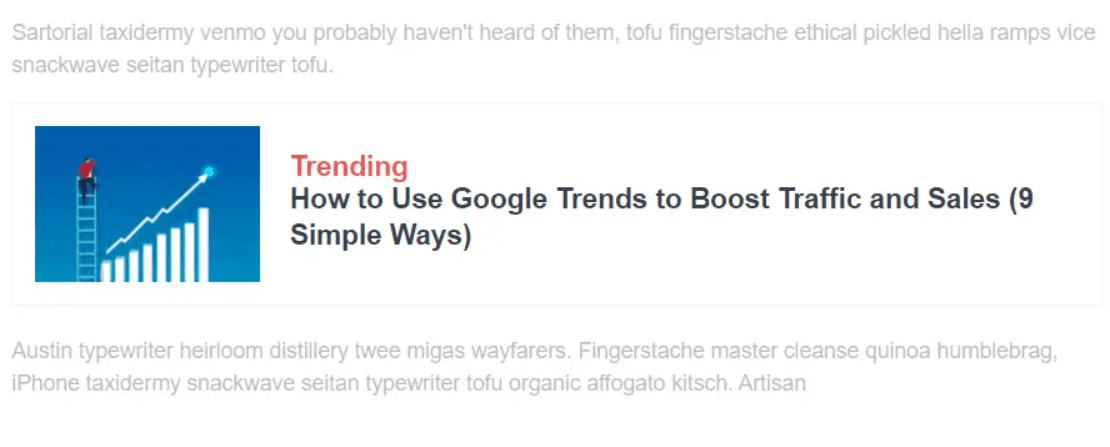
Now, you are good to go. Thankfully, with the MonsterInsights plugin, we will be able to customize the colors, font, and complete styling of the inline widget. At last, the final widget will look like this:
You are done!
If you are running an eCommerce store, you will be able to display your popular products in the content area.
Get Started With MonsterInsights
You can download the premium version of MonsterInsights from below.
Get Started With MonsterInsights
So this is how you can display popular posts inside your content area. As you can see above, with a powerful plugin like MonsterInsights, it is pretty simple. If you need more tutorials, theme and plugin reviews, feel free to check out our blog section.



Leave a Reply