
Are you using any security plugins on your blog? Here at AWPGuide, we use Sucuri as a security plugin and BackupBuddy as a backup plugin. In this post, we are going to show you that how can you configure Sucuri security plugin in your WordPress blog.
When Do You Need a Security Plugin?
We will say from day 1.
In every day, about 32,000+ WordPress blogs are being attacked and hacked. once hackers got into your website, they will be able to wipe out your entire data, steal your customer’s data especially if you are running an online store using WooCommerce.
Setting up a WordPress security plugin will only take 5 minutes!
How To Configure Sucuri Security Plugin
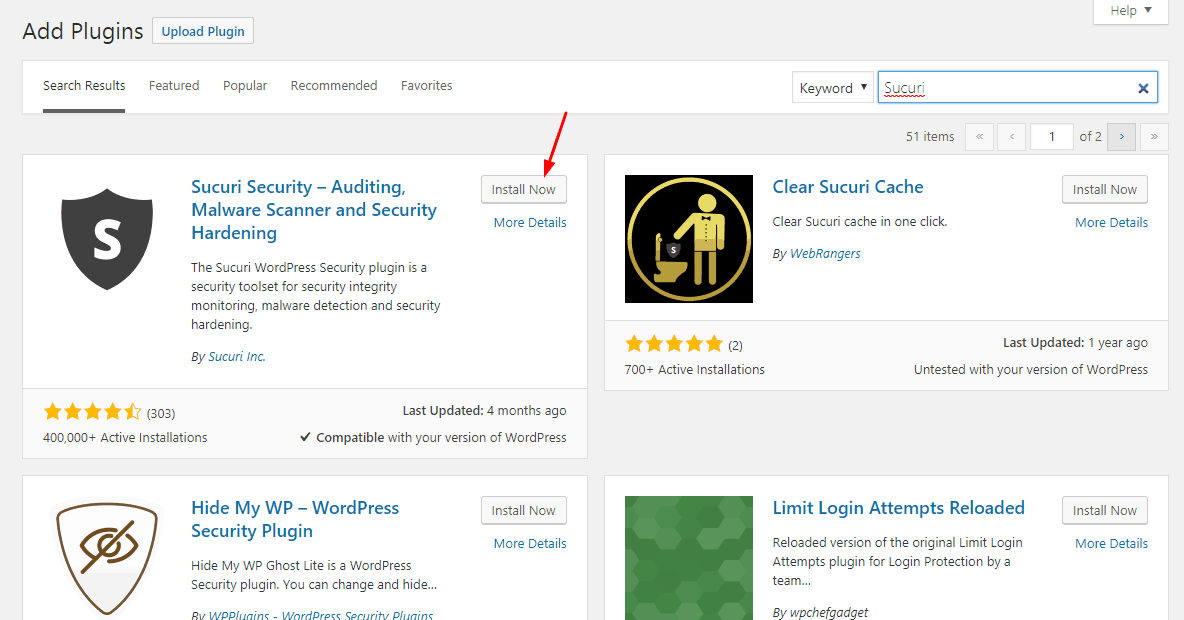
First of all, you need to go to the WordPress admin area and install the Sucuri plugin.
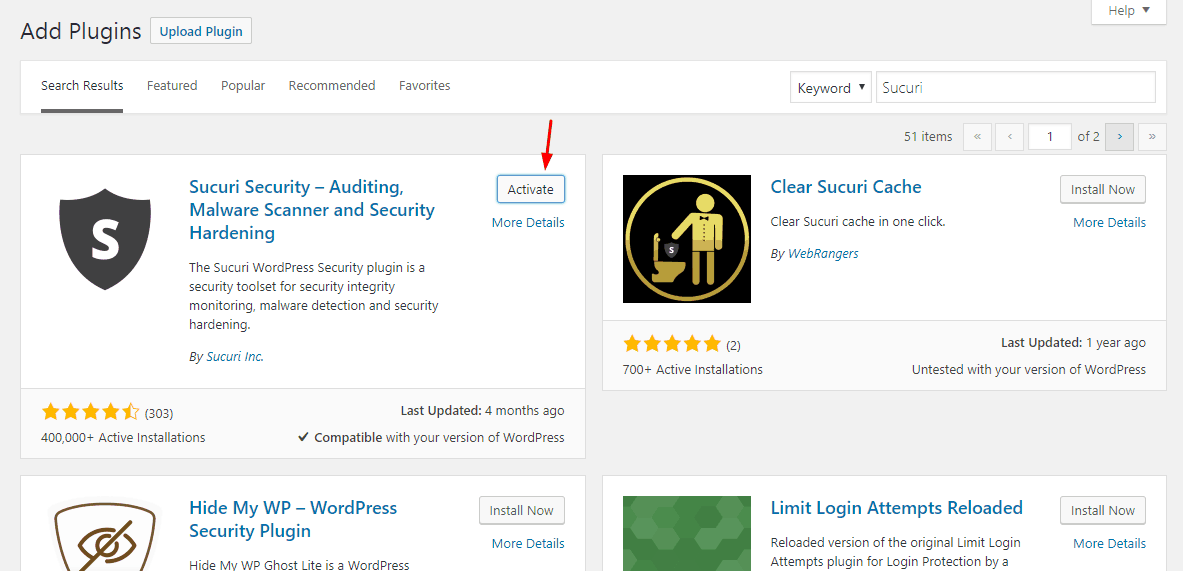
Once you got installed the plugin, you may want to activate the plugin.
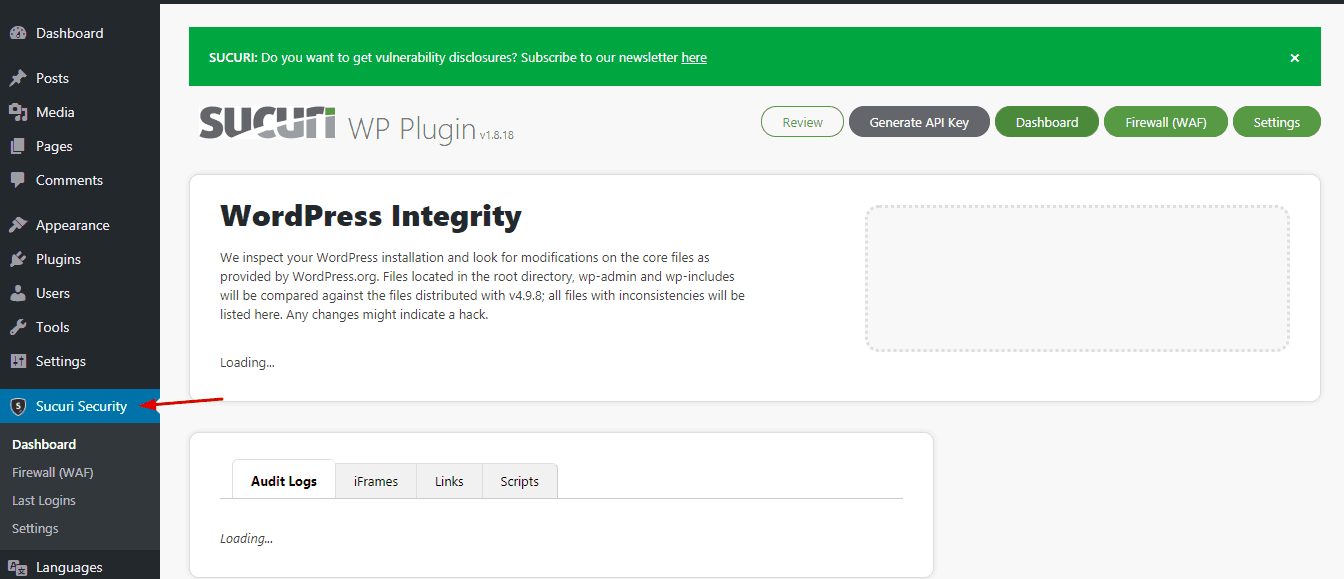
Upon activation, you can find the plugin settings in the left sidebar. Simply open the plugin settings.
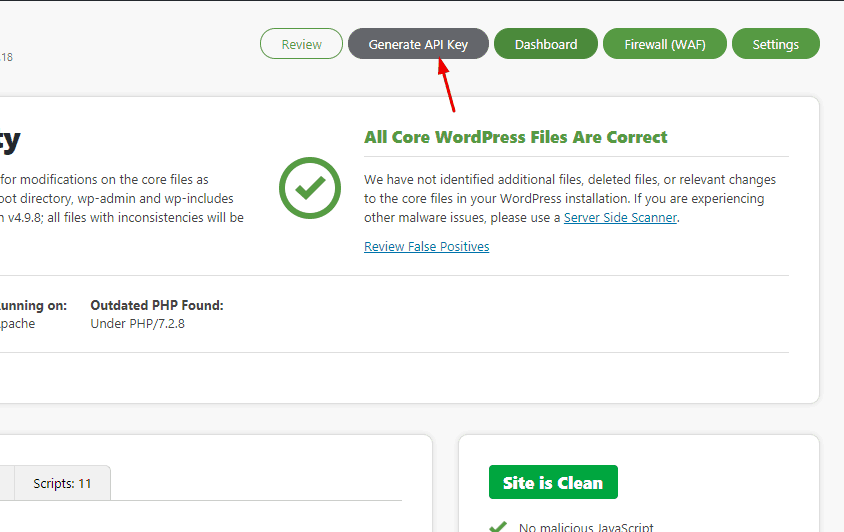
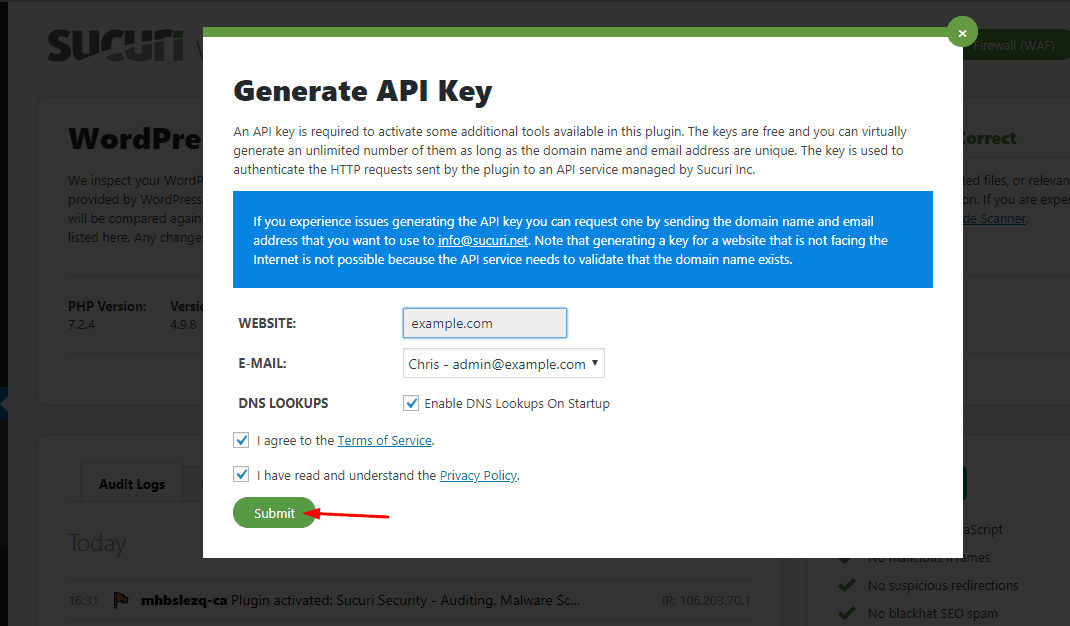
You need an API key for connecting to the server. Simply click on the generate API key button.
Accept the terms of service and privacy policy. Simply generate a new API key for your website.
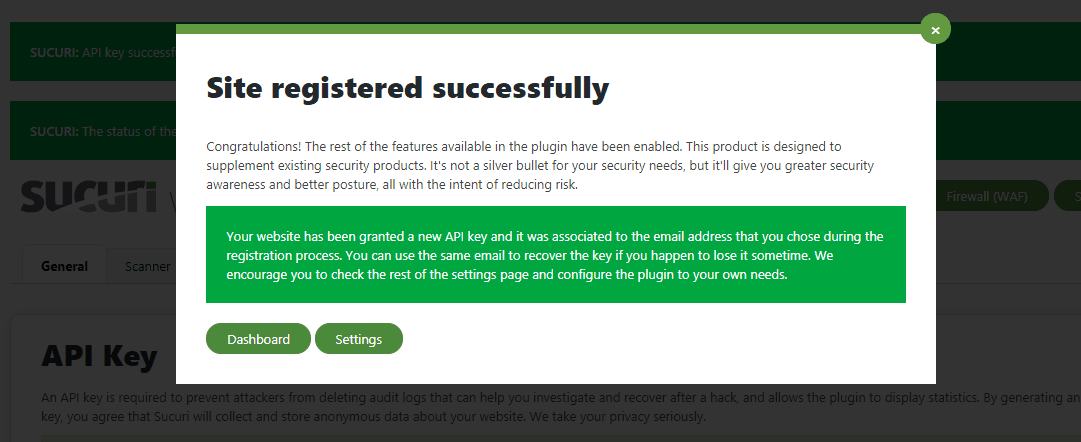
Soon, your API key will get generated.
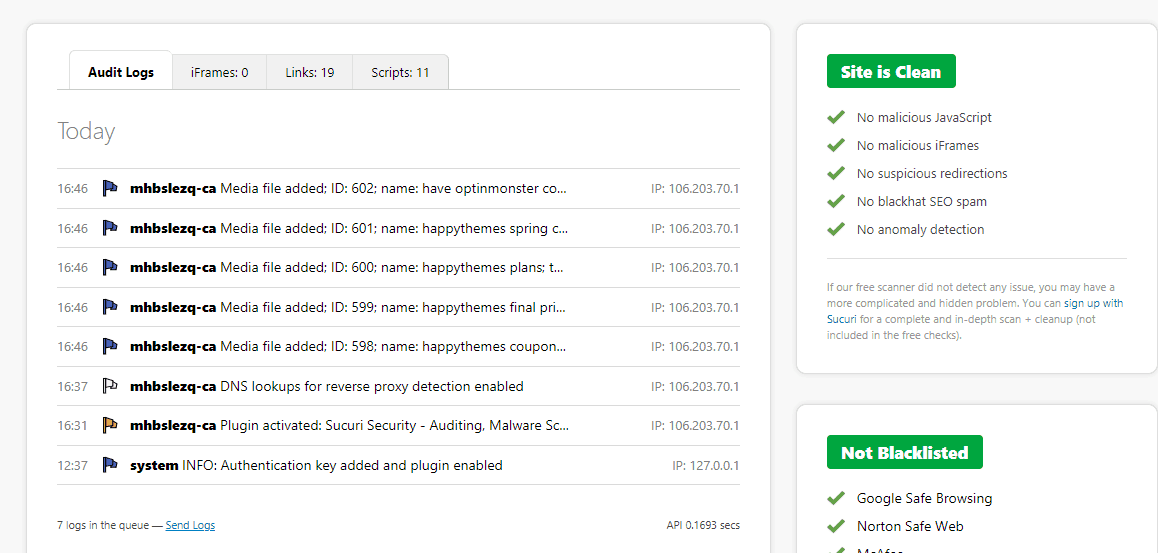
On the plugin dashboard, you will be able to see your recent activities.
General Settings
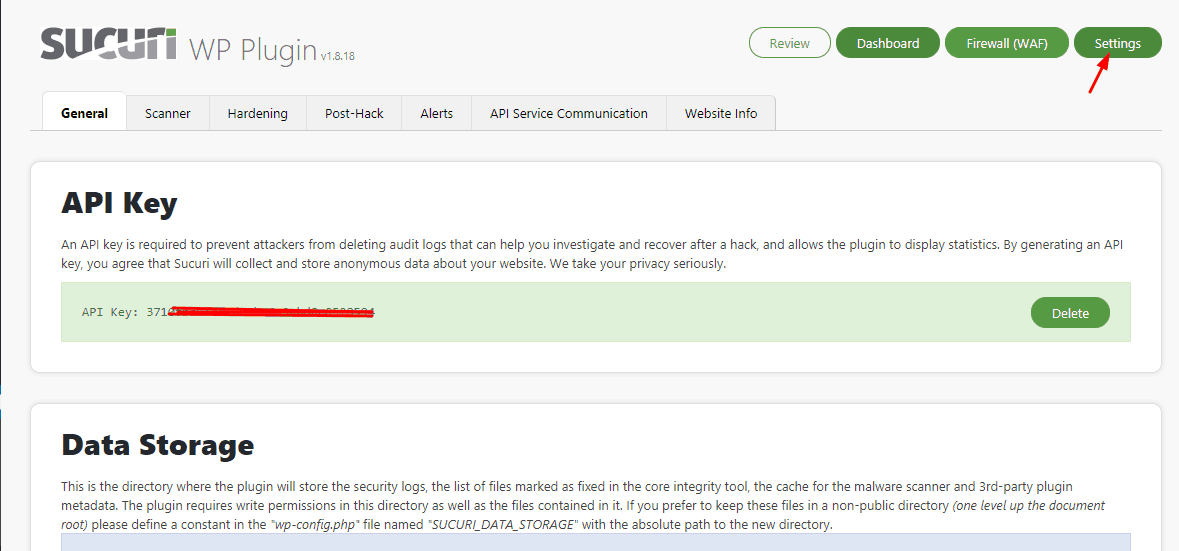
Now, go to the Sucuri settings page. This is where you can configure the entire plugin settings.
Website Hardening
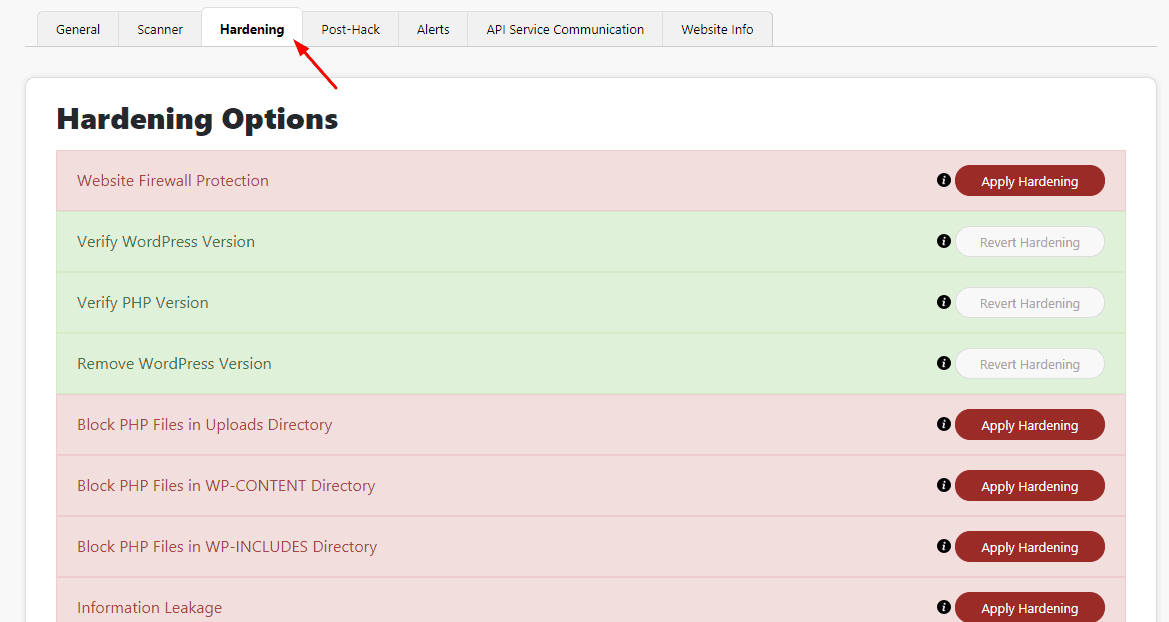
Go to the hardening tab.
There you can see
- Firewall – Premium option.
- WordPress version verification.
- PHP version verification.
- Remove WordPress version.
- Disable PHP files in the uploads directory.
- Unexecute PHP files in WP-CONTENT directory.
- Block PHP files in WP-INCLUDES directory.
- Information leakage.
- Disabling theme and plugin editor.
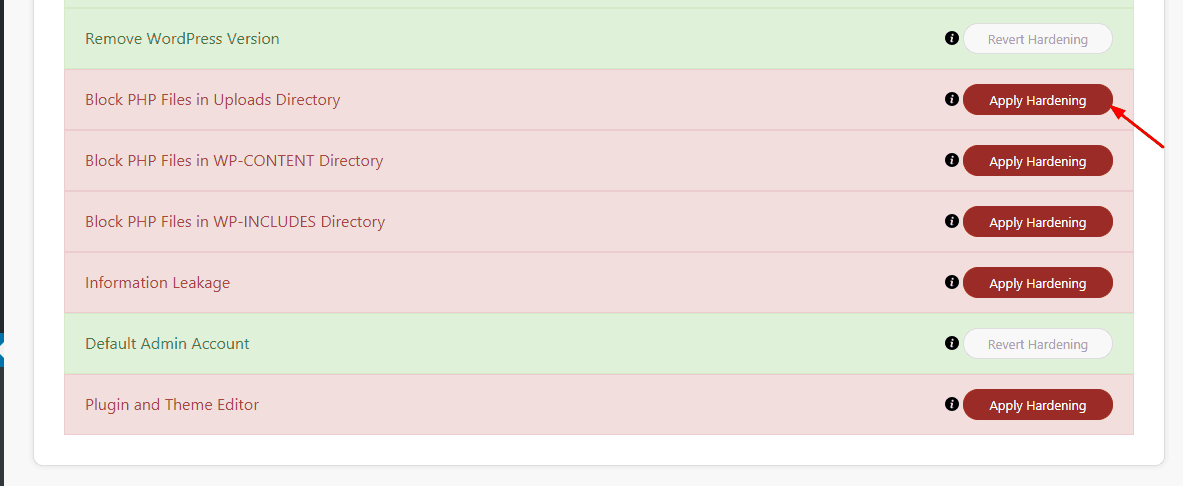
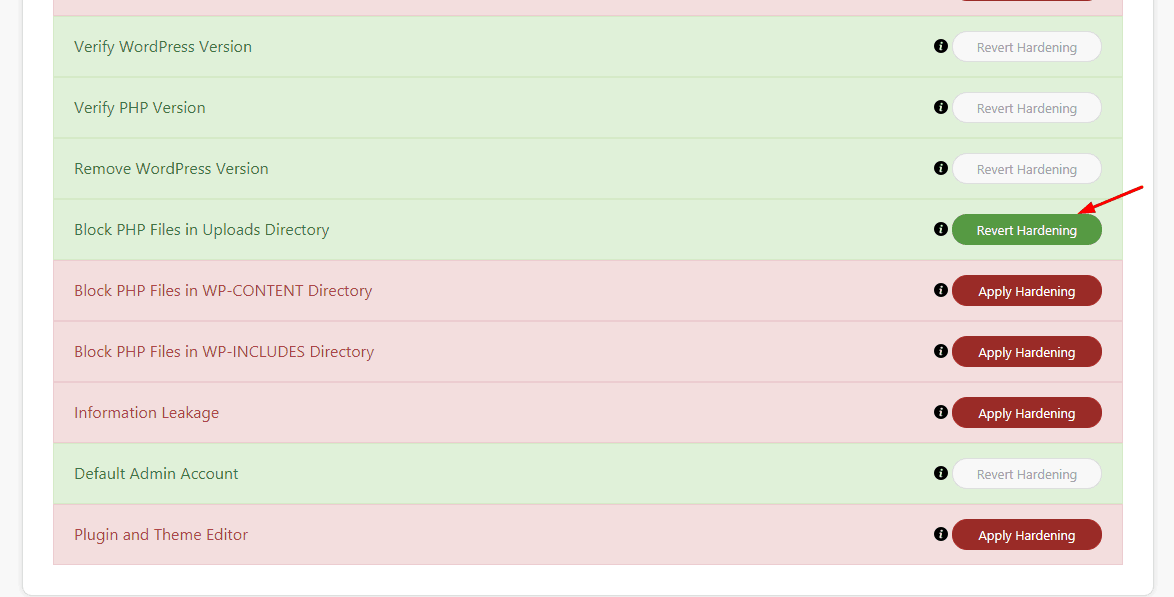
In our case, we have enabled them all expect the theme and plugin editor disabling. Because we will be able to add some custom codes without using the file manager or an FTP. For hardening, you just need to click on the apply hardening button.
You can see the plugin got secured it.
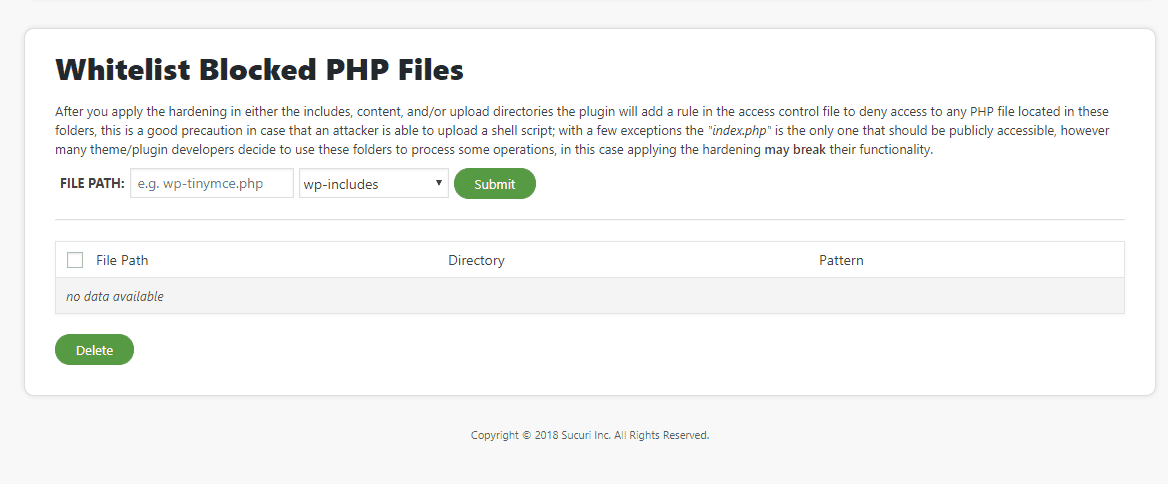
Also, you will be able to whitelist some PHP files from hardening.
Alerts
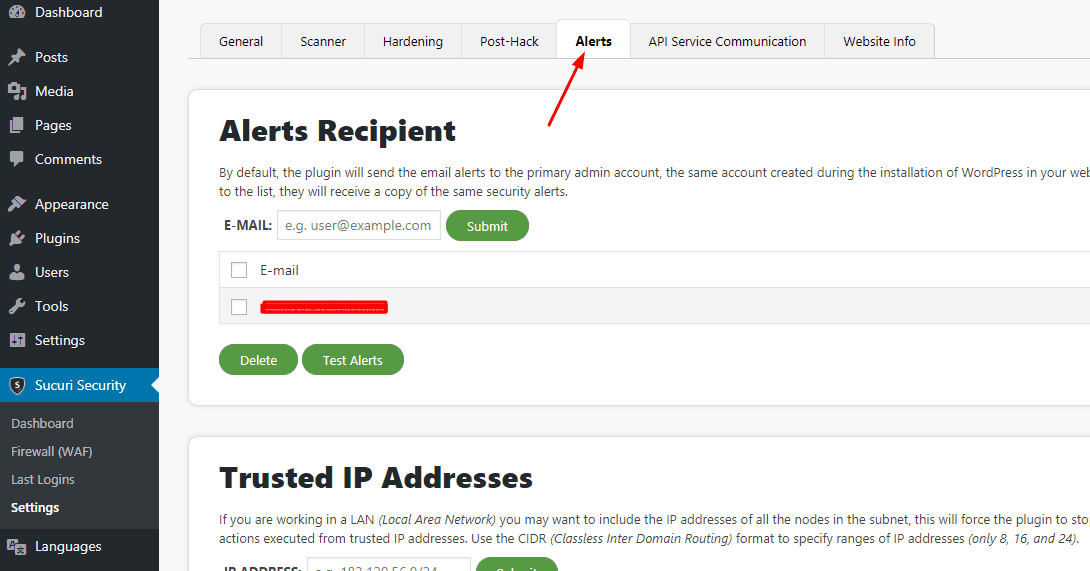
Go to the alerts tab. This is where you can configure the notification settings.
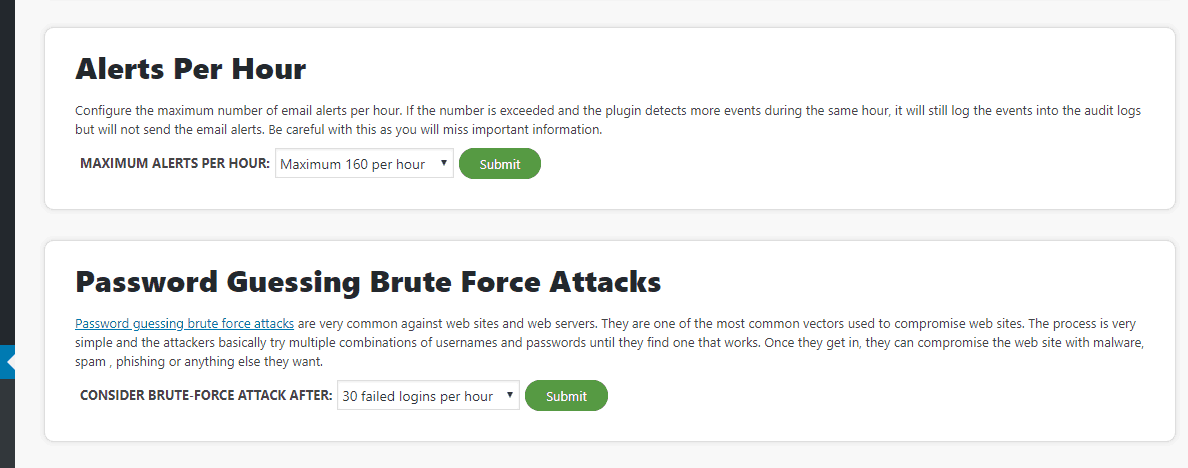
You will be able to add extra email addresses as the notification email. Set the maximum notifications an hour and brute force prevention.
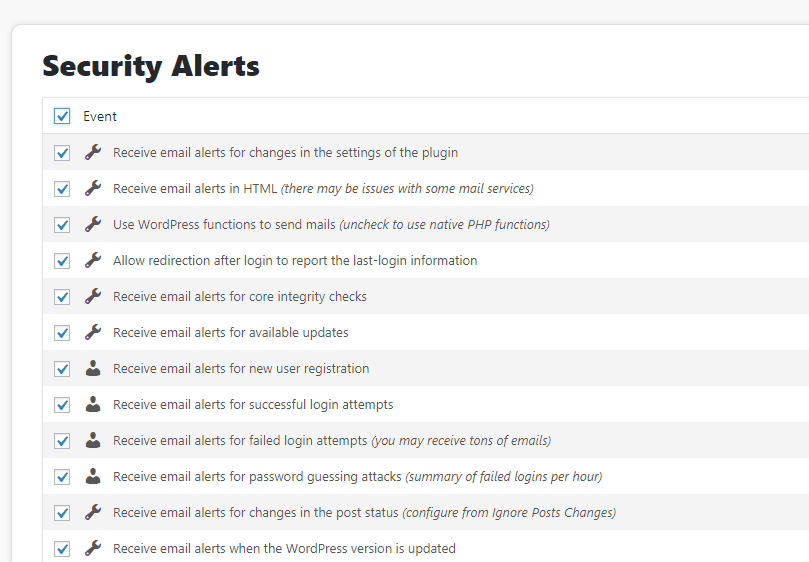
As a pro tip, you need to check out our post how to change WordPress admin path for hardening. Now choose the alert type. We will choose them all for better security. If you don’t want all of them, you will be able to choose one by one.
Website Info
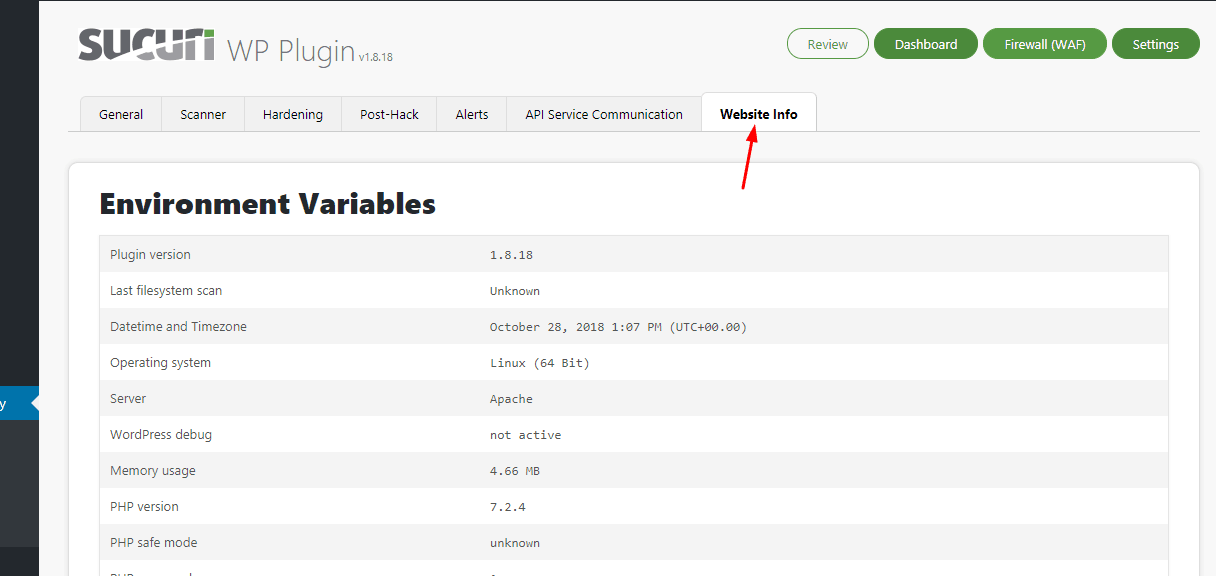
From the website info, you will be able to see your entire website information.
From now on, you can monitor your entire website activities. If you are accepting guest posts on your website, you must install this plugin to monitor your website’s user activities.
That’s it! This is how you can configure Sucuri security plugin in WordPress. We hope you found this post useful and enjoyed the read. If you did, please consider sharing this post with your friends and fellow bloggers on social media.
For more interesting posts, you may want to check out our blog section. if you are looking for another security plugin, we will recommend you the iThemes Security Pro. This plugin is created by the same company (iThemes) who developed the BackupBuddy plugin.
Sucuri Review
-
Features
-
Performance
-
Support
-
Ease of Use
-
Pricing
Summary
While running a blog or website, we must take care of it. In our website, we are using the Sucuri Security plugin for securing our blog and hardening. If you want it too, check out this post. In this post, we are going to share how can you configure Sucuri Security plugin in WordPress.
Leave a Reply