Do you know that how can you compress images online? Compressing images online can save your website’s disk space and also bandwidth. Lots of users are looking for simple methods for doing it. In this post, we will show you that, how to use TinyPNG for compressing images.
Is TinyPNG Free?
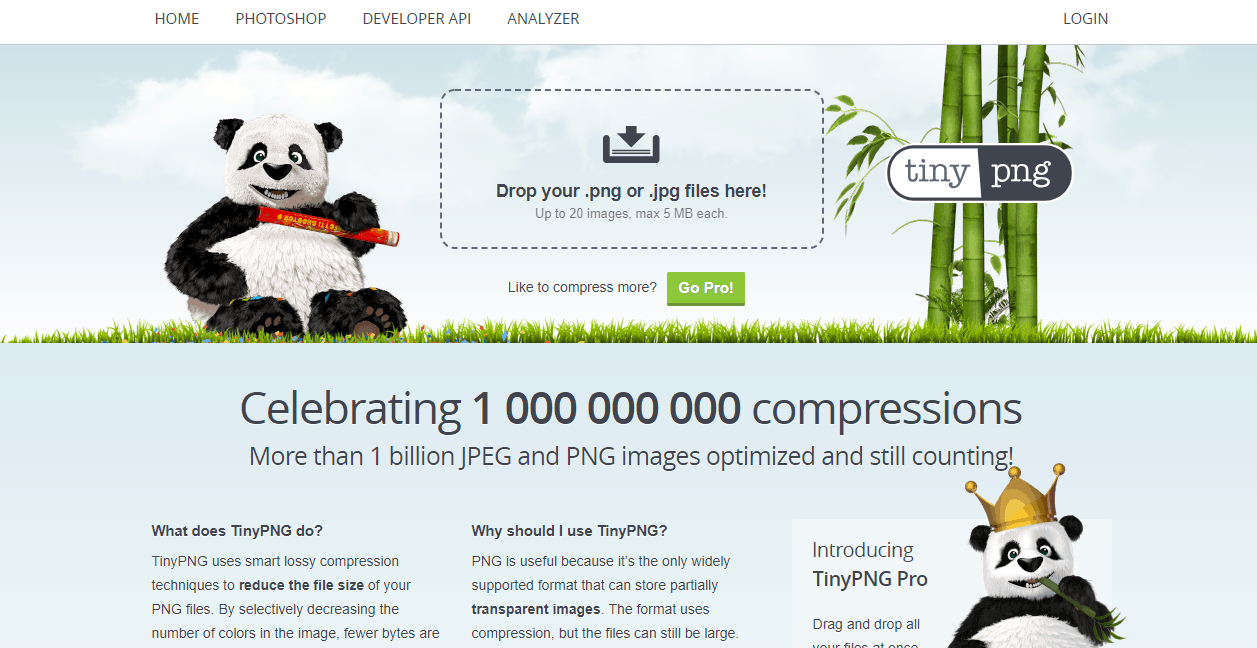
Yes! You don’t need to spend a single penny for compressing images. But, they are have got limits on free usage. The maximum file size that you can upload to the optimizer is 5 MB. This means you must upload an image which is lesser than 5 MB in size.
Also, you can only upload 20 images at a time to the optimizer. That’s good enough for us!
How To Use TinyPNG?
First of all, go to TinyPNG website.
Now, you need to drop the image to the optimizer from your local storage.

Now, the system will start to compress the image for you.

After optimizing the image, you can download it to your local storage. Simply click on the download button there.

As you can see, TinyPNG helped me to save 78% in space. My original image size was 336 KB. After optimizing it, the image size becomes 75 KB. A powerful compression isn’t it?
By uploading these type compressed images on your blog, you will be able to serve images faster to your website visitors. Most users prefer faster loading websites than slower ones.
TinyPNG Alternatives
There are mainly 2 alternatives available that we use.
- TinyJPG – Developed by the same company who’s running TinyPNG.
- ShortPixel – A free online image compression tool with rich options.
- WP Smush – Plugin for WordPress image optimization.
We hope you found this tutorial helpful and enjoyed the read. If you did, please consider sharing this post with your friends on social media. For more related posts, please check out our blog section.
TinyPNG
-
Features
-
Performance
-
Support
-
Ease of Use
-
Pricing
Summary
TinyPNG is one of the best websites for compressing images online. We will show you how the system works in simple words and why you need TinyPNG. The complete TinyPNG review is here!
Leave a Reply