Are you running a WooCommerce shop? If you are, probably you will be running some kind of limited-time deals and related promotions. For getting more viewability for your promotions, we could use the notification bars in our online shop. Normally, using some HTML and CSS for styling will do the job.
But that’s not recommended at all. In this article, we are going to show you how can you create a WooCommerce announcement bar in WooCommerce using the OptinMonster plugin!
OptinMonster
OptinMonster is one of the popular WordPress plugin available in the market. It is used for generating leads and conversions from existing website traffic. There are so many lead generation plugins are available in the market and OptinMonster is the #1 among them. The plugin is created by Awesome Motive – the same company behind WPForms, MonsterInsights, SeedProd, etc.
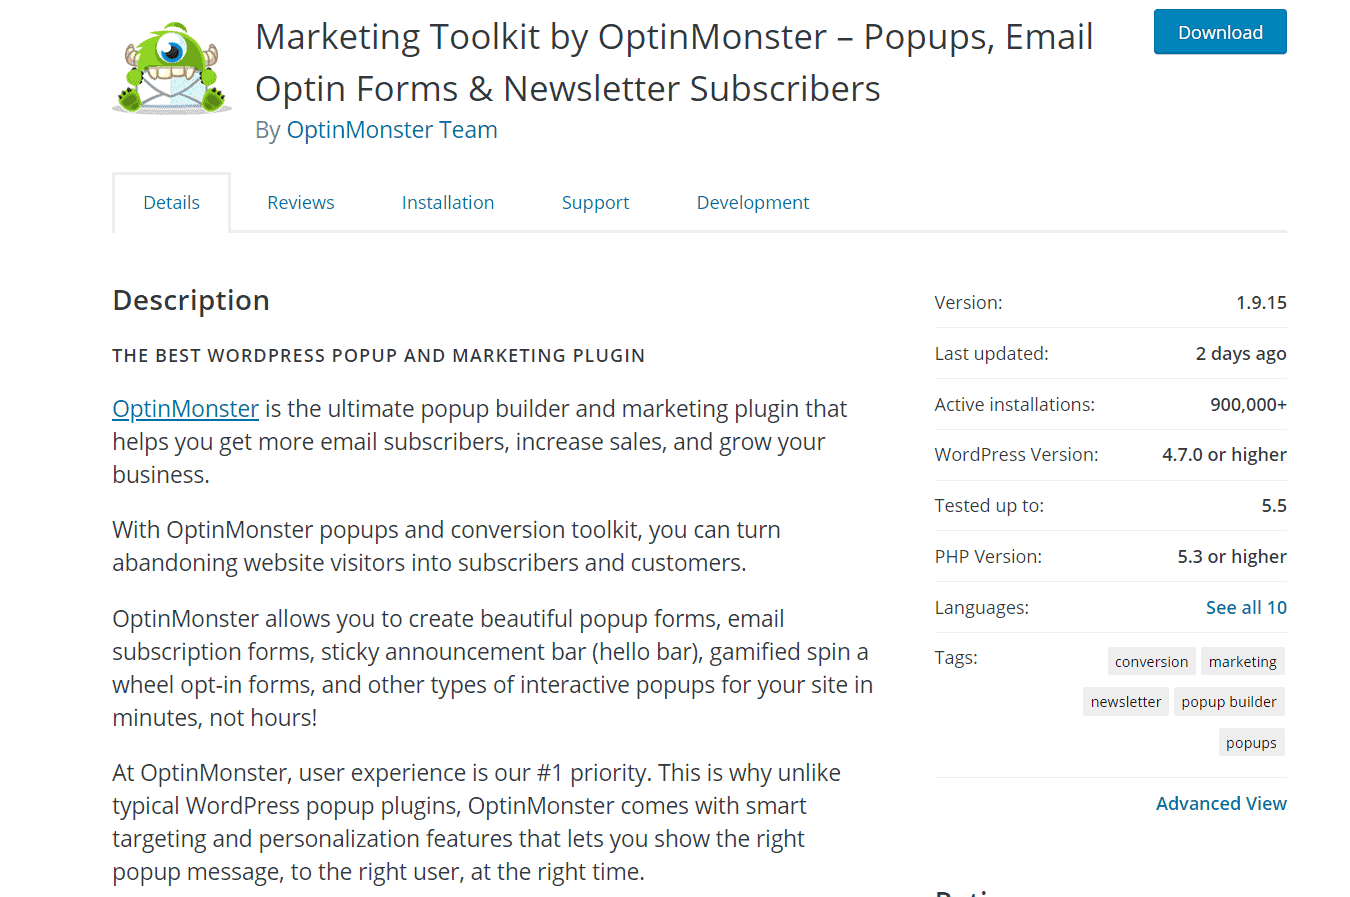
The plugin can be downloaded from the WordPress plugins repository (OptinMonster API).
Some of the popular features they got are
- Coupon Wheel Optin.
- Lightbox Popup.
- Exit-Intent.
- Countdown Timer.
- Floating Bar.
- Yes/ No Forms.
- MonsterLinks.
- Announcement Bars.
Etc.
And in this article, we will be using the announcement bar feature for creating our optin.
OptinMonster Pricing
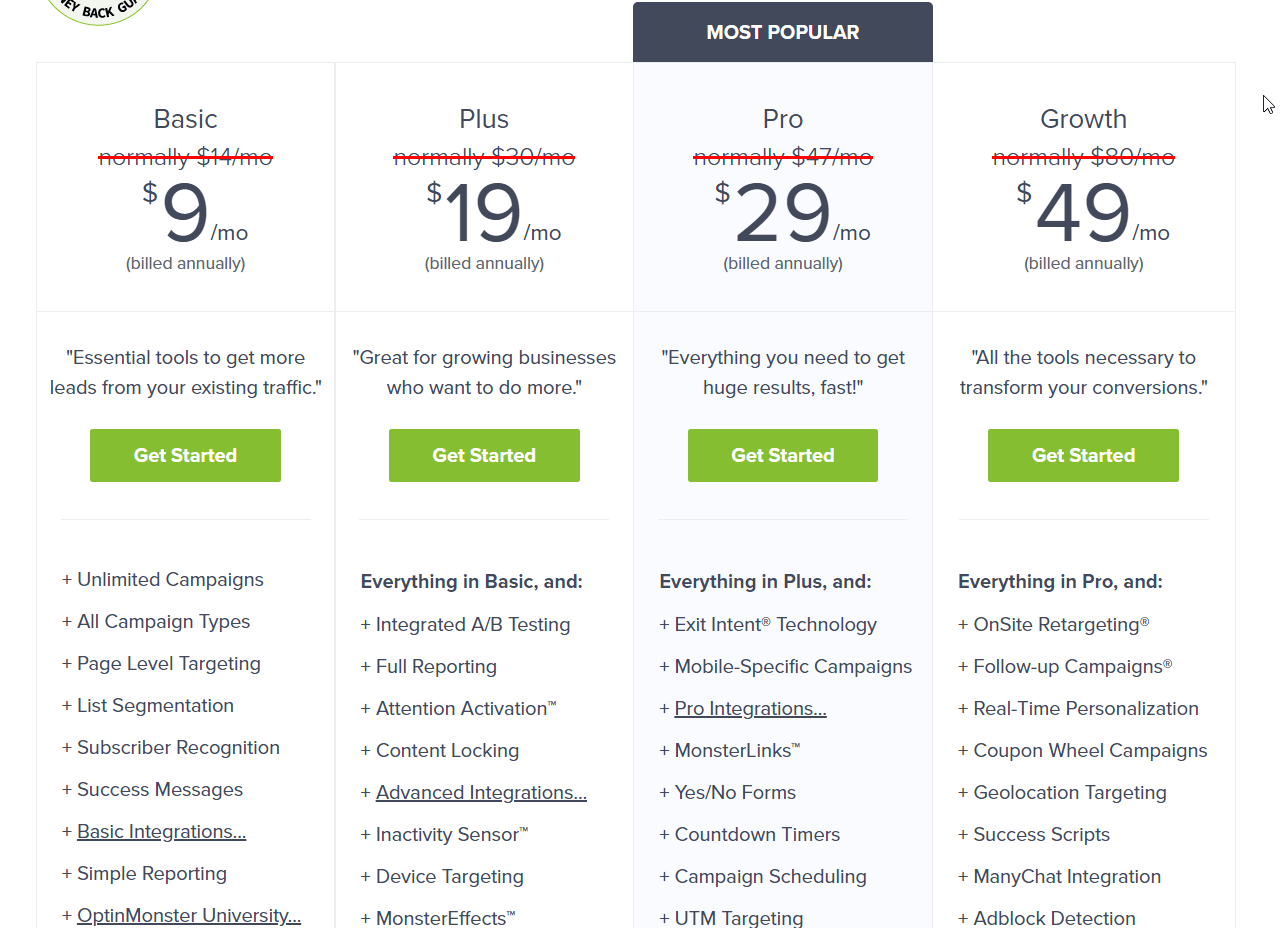
Now, let’s take a look at the pricing of OptinMonster.
- Basic – $9/ month.
- Plus – $19/ month.
- Pro – $29/ month.
- Growth – $49/ month.
With your PayPal account or Credit Card, you will be able to complete the purchase. And also, the team is offering a 14-days moneyback guarantee. So if you are not satisfied with the purchase and need a refund, easily open a support ticket to the billing department.
They will issue a complete refund for you!
How To Create a WooCommerce Announcement Bar
Once you have purchased OptinMonster, you will need to log in to your account. They will send you the login credentials to your registered email address.
After logging in to your account, you will need to create a new campaign. And when you select the campaign type, choose Floating Bar.
They have 50+ pre-made templates that will work on every device (mobile optimized). So if you need to start instantly, you can choose any of the pre-made templates. On the other hand, you can also start from scratch with a blank template. There, you will need to design every element of your floating bar.
You will need to choose a template that suits your needs.
Several templates are available like
- Donate.
- Alert.
- Social.
- Basic.
- Charted.
- Split.
Etc.
For this tutorial, we are going to use the Alert template. Once you have chosen it, you will need to name your campaign. And also, choose the website you are planning to embed the announcement bar.
Soon, you will be redirected to the OptinMonster campaign editor.
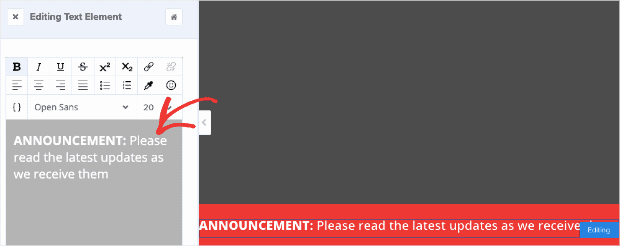
This is where you can make changes to your bar. You can edit the text you have on the bar change colors, etc. The builder will show you a live preview on the right side. So you can see what you are doing.
You might want to consider changing the background color of our announcement bar. We recommend you use a color that suits your website.
From the optin configuration, you can change it.
Once you have done with the basic settings, you can set up the button action. When you are promoting one of your top-selling products or a combo pack, probably you need to enter the URL of that specific page. So from the dropdown, choose Redirect to a URL option, enter the URL in the box.
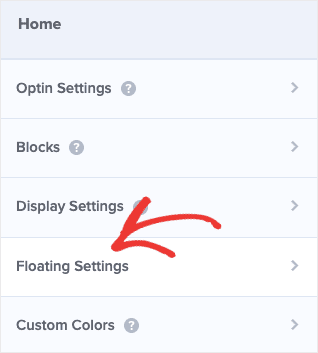
The thing is, by default, the bar will be placed at the bottom of your website. Thankfully, with some customizations, we will be able to move it to somewhere else. On your home menu, you could see something called Floating Settings. You will need to select it.
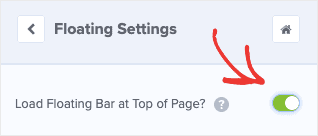
There, enable the option that will show the bar at top of your website.
From now on, the display bar will be shown at the top of the website. You have almost done with the customization. The next thing we need to do is, set up the display rules. You can choose when you need to display your notification bar on the website. On the top menu, you could see an option called Display Rules.
You will need to select it. Mainly, you could add two conditions.
- Show the bar on your whole WooCommerce shop.
- Show on custom product pages.
For better viewability, we recommend you showing the optin site-wide. So when a visitor lands on any of your pages, they will probably see the notification bar you have on the top.
Configure the display rules according to your needs.
After configuring the rules and everything, you are good to go. Simply publish the campaign.
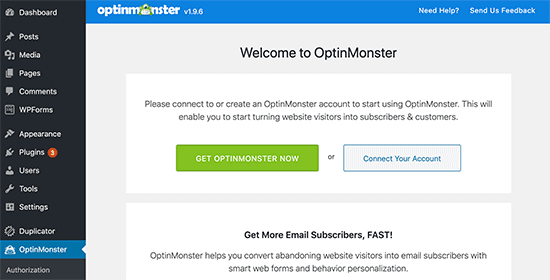
You are ready to embed the optin on your WooCommerce site. For that, you will need to install and activate the OptinMonster WordPress plugin on your site. Once you have activated it, connect it with your account.
You will see all the available optins after successful linking. And you can enable our notification bar from there. Check your websites; frontend from an incognito window or another browser. You will see the notification bar as we configured in the OptinMonster app.
That’s it! Pretty simple, isn’t it?
Get Started With OptinMonster
You can get the premium version of OptinMonster from below.
So this is how you can create a WooCommerce announcement bar using the OptinMonster plugin.
We hope you have found this article helpful and enjoyed the read. If you did, please consider sharing this article with your friends and fellow bloggers on social media. You can check out our blog section for more related articles and product reviews.







Leave a Reply